
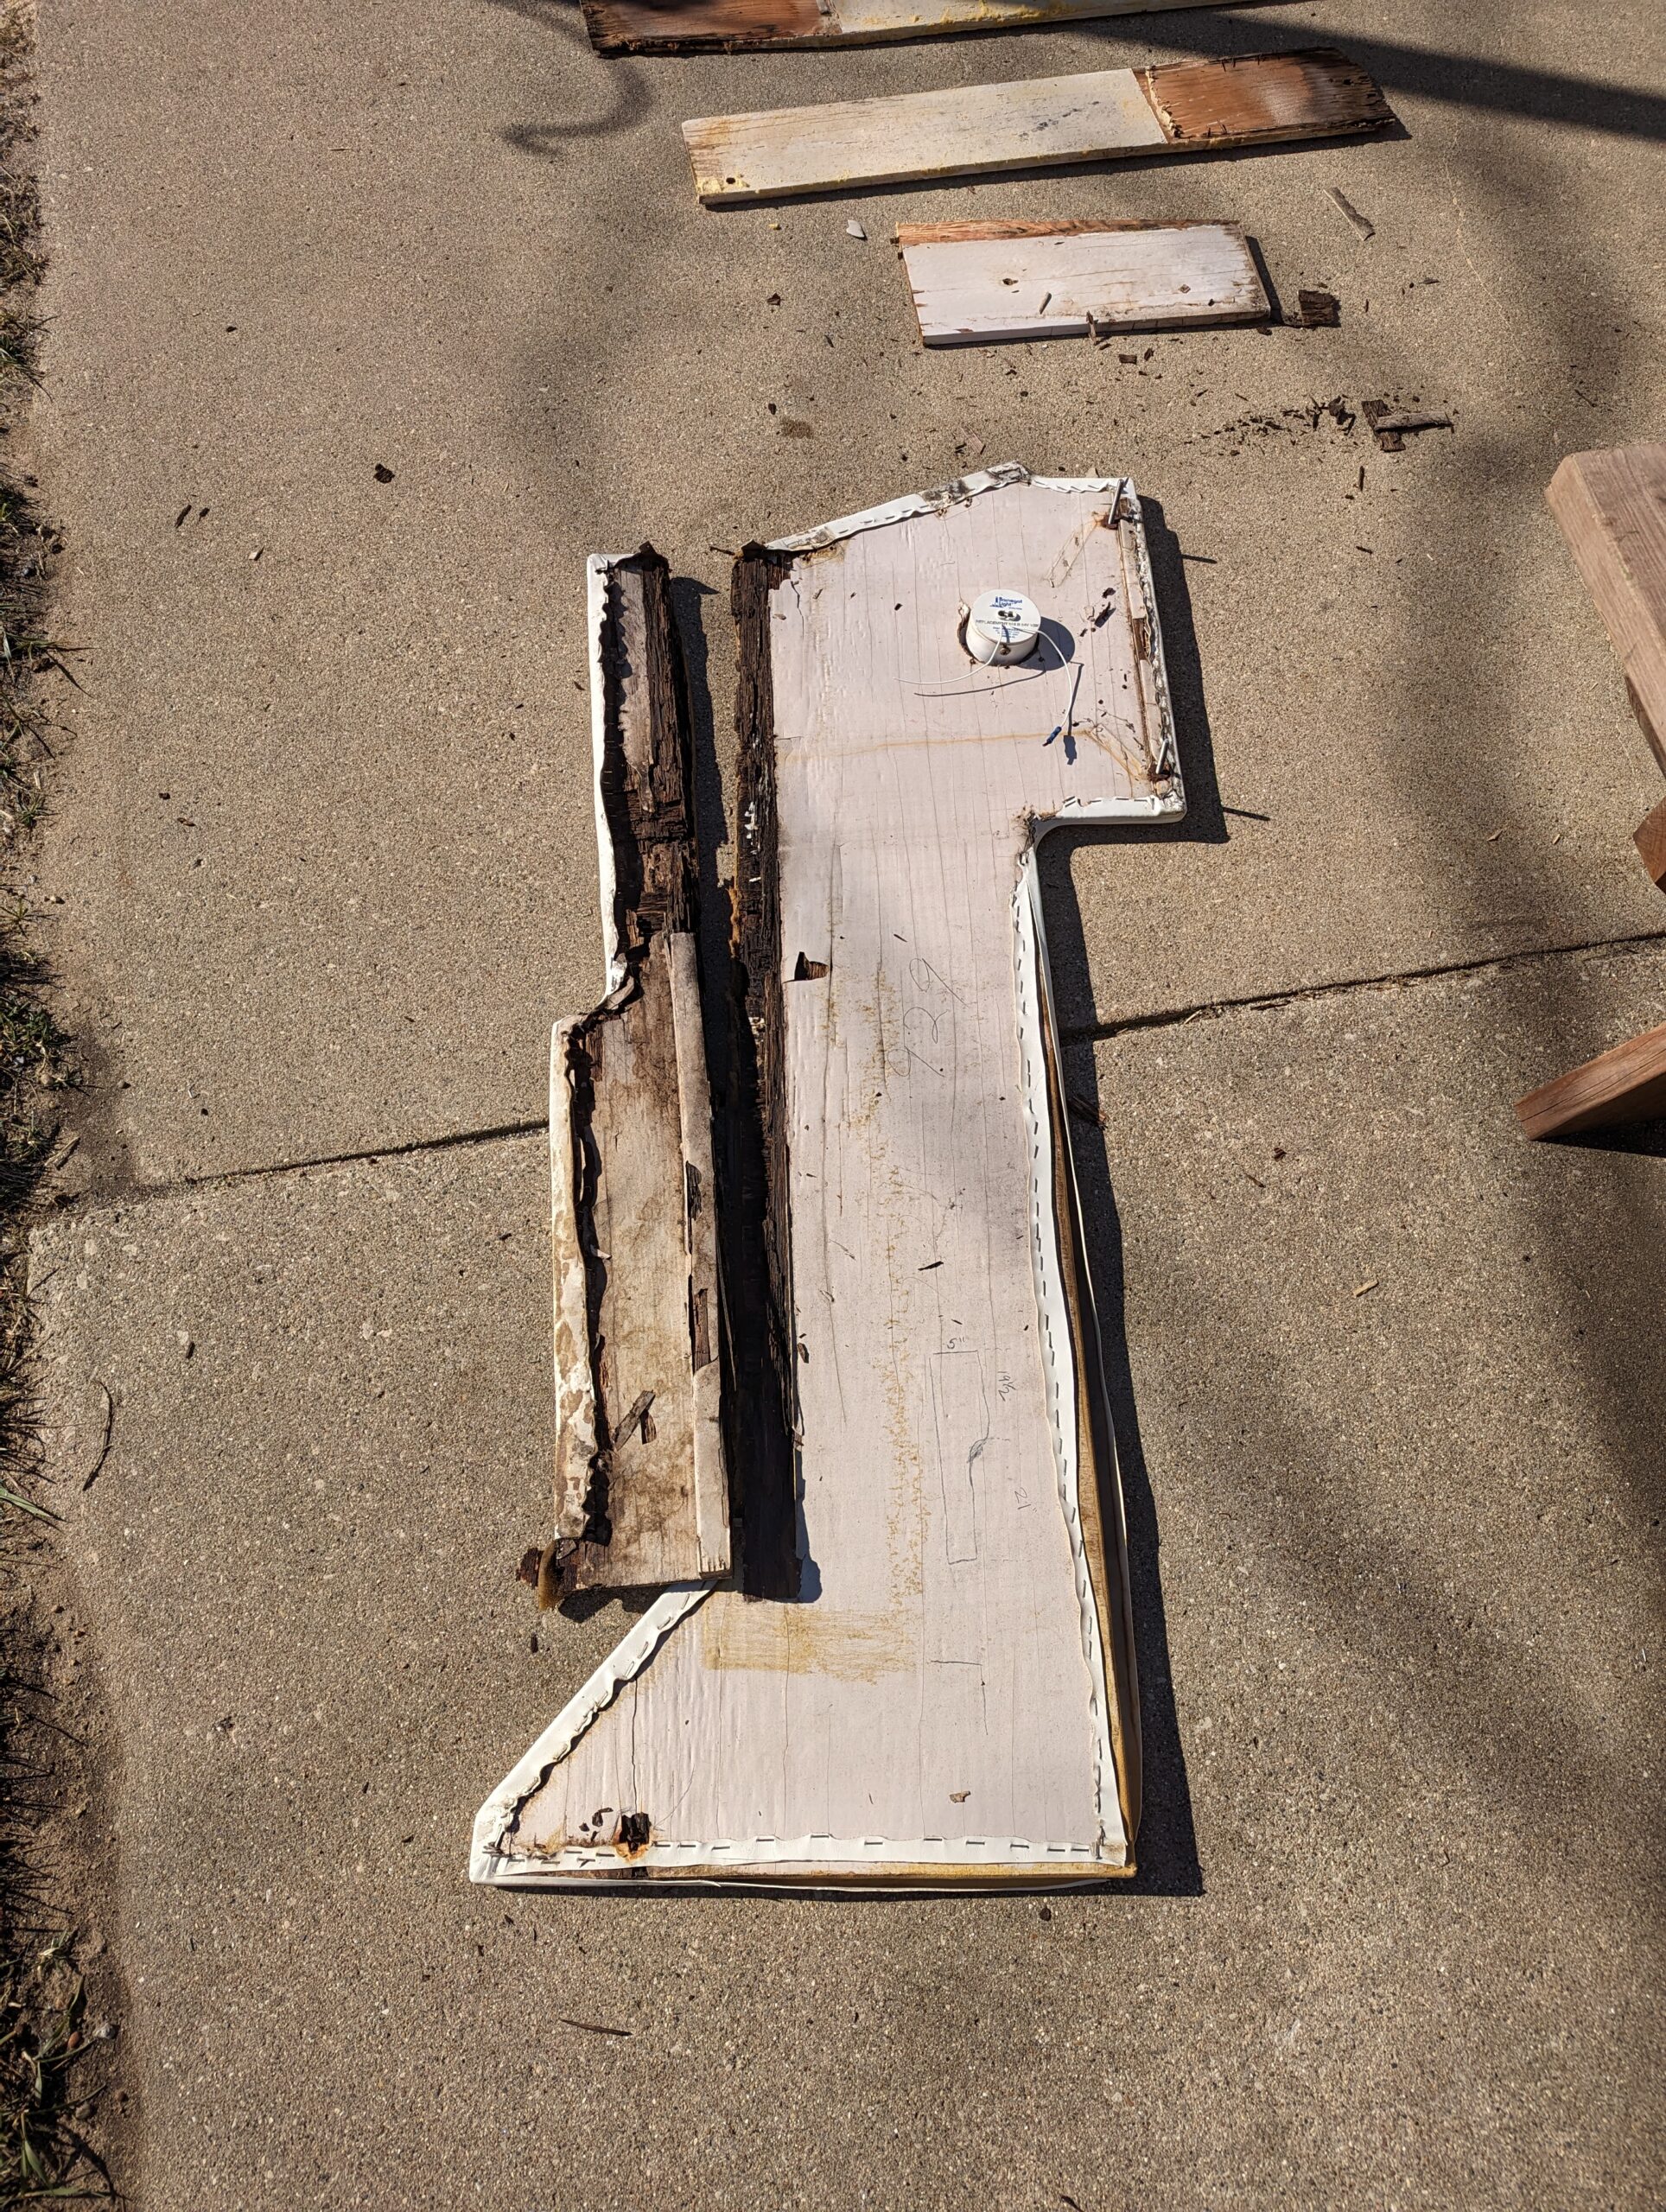
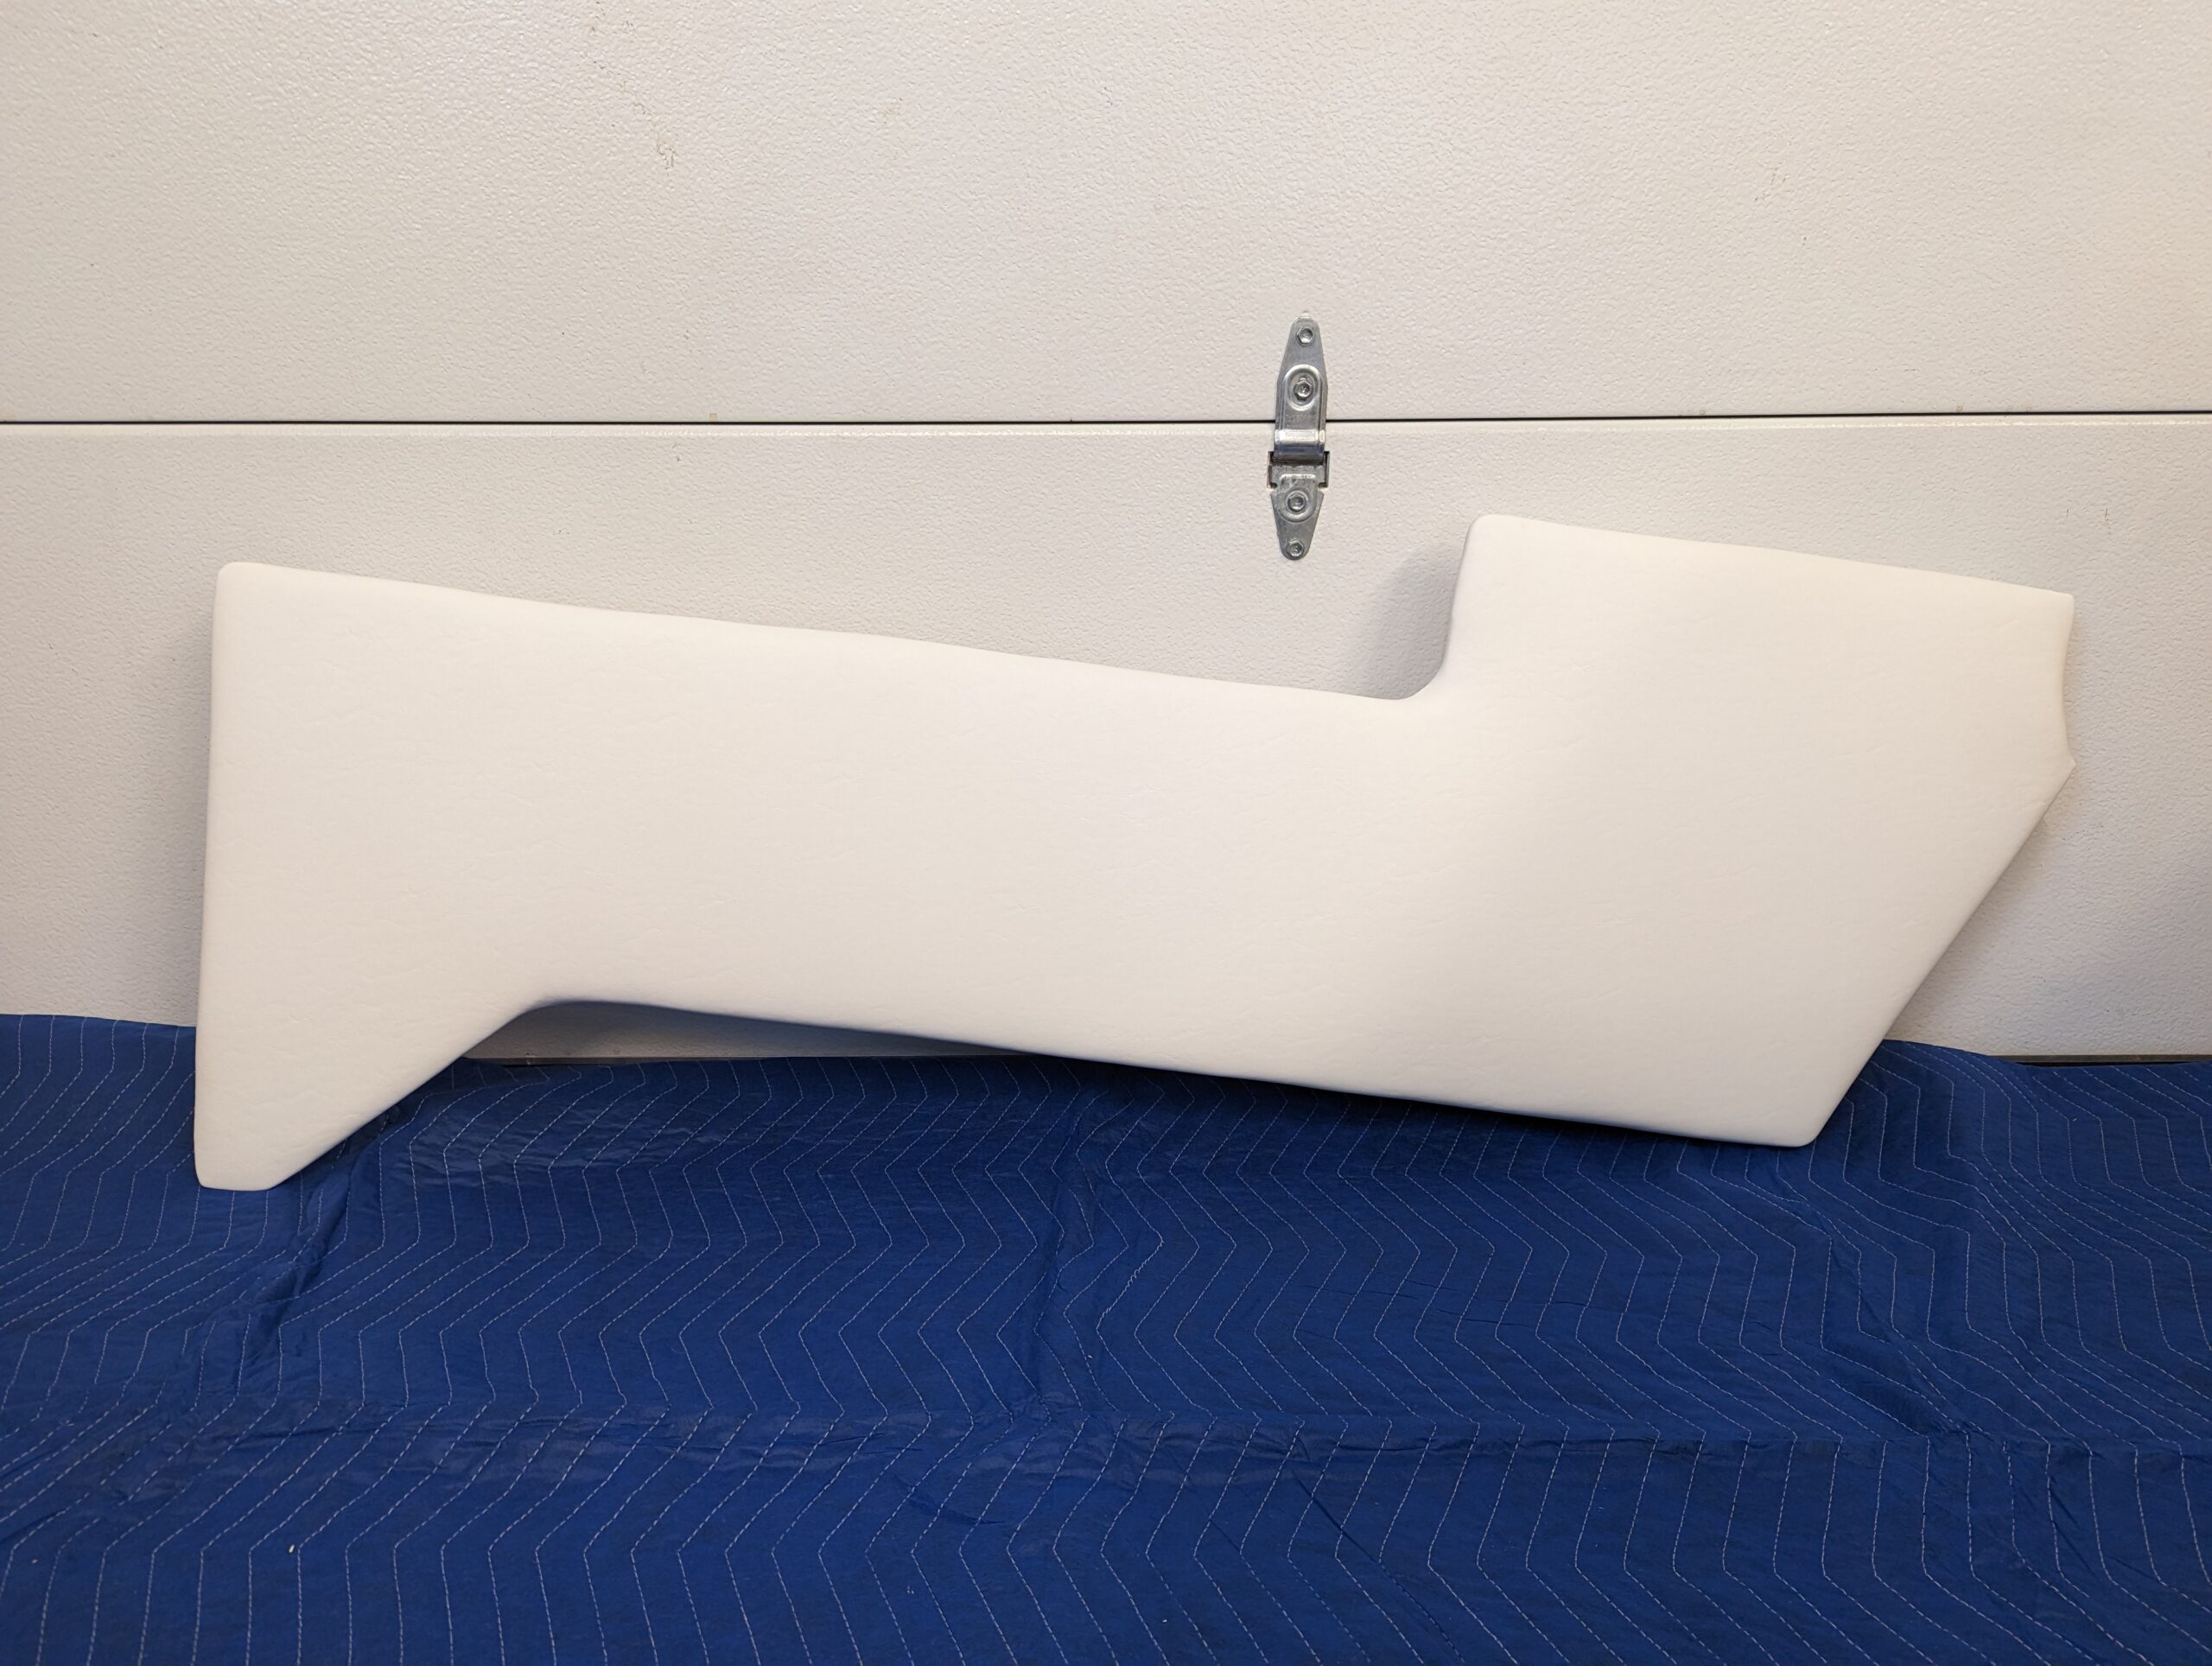
Water damage.
When we hear this term we likely all have different mental images; some may envision discoloration on a ceiling tile, some a crumbly, cement basement floor. For me, when I hear “water damage”, I think of this:
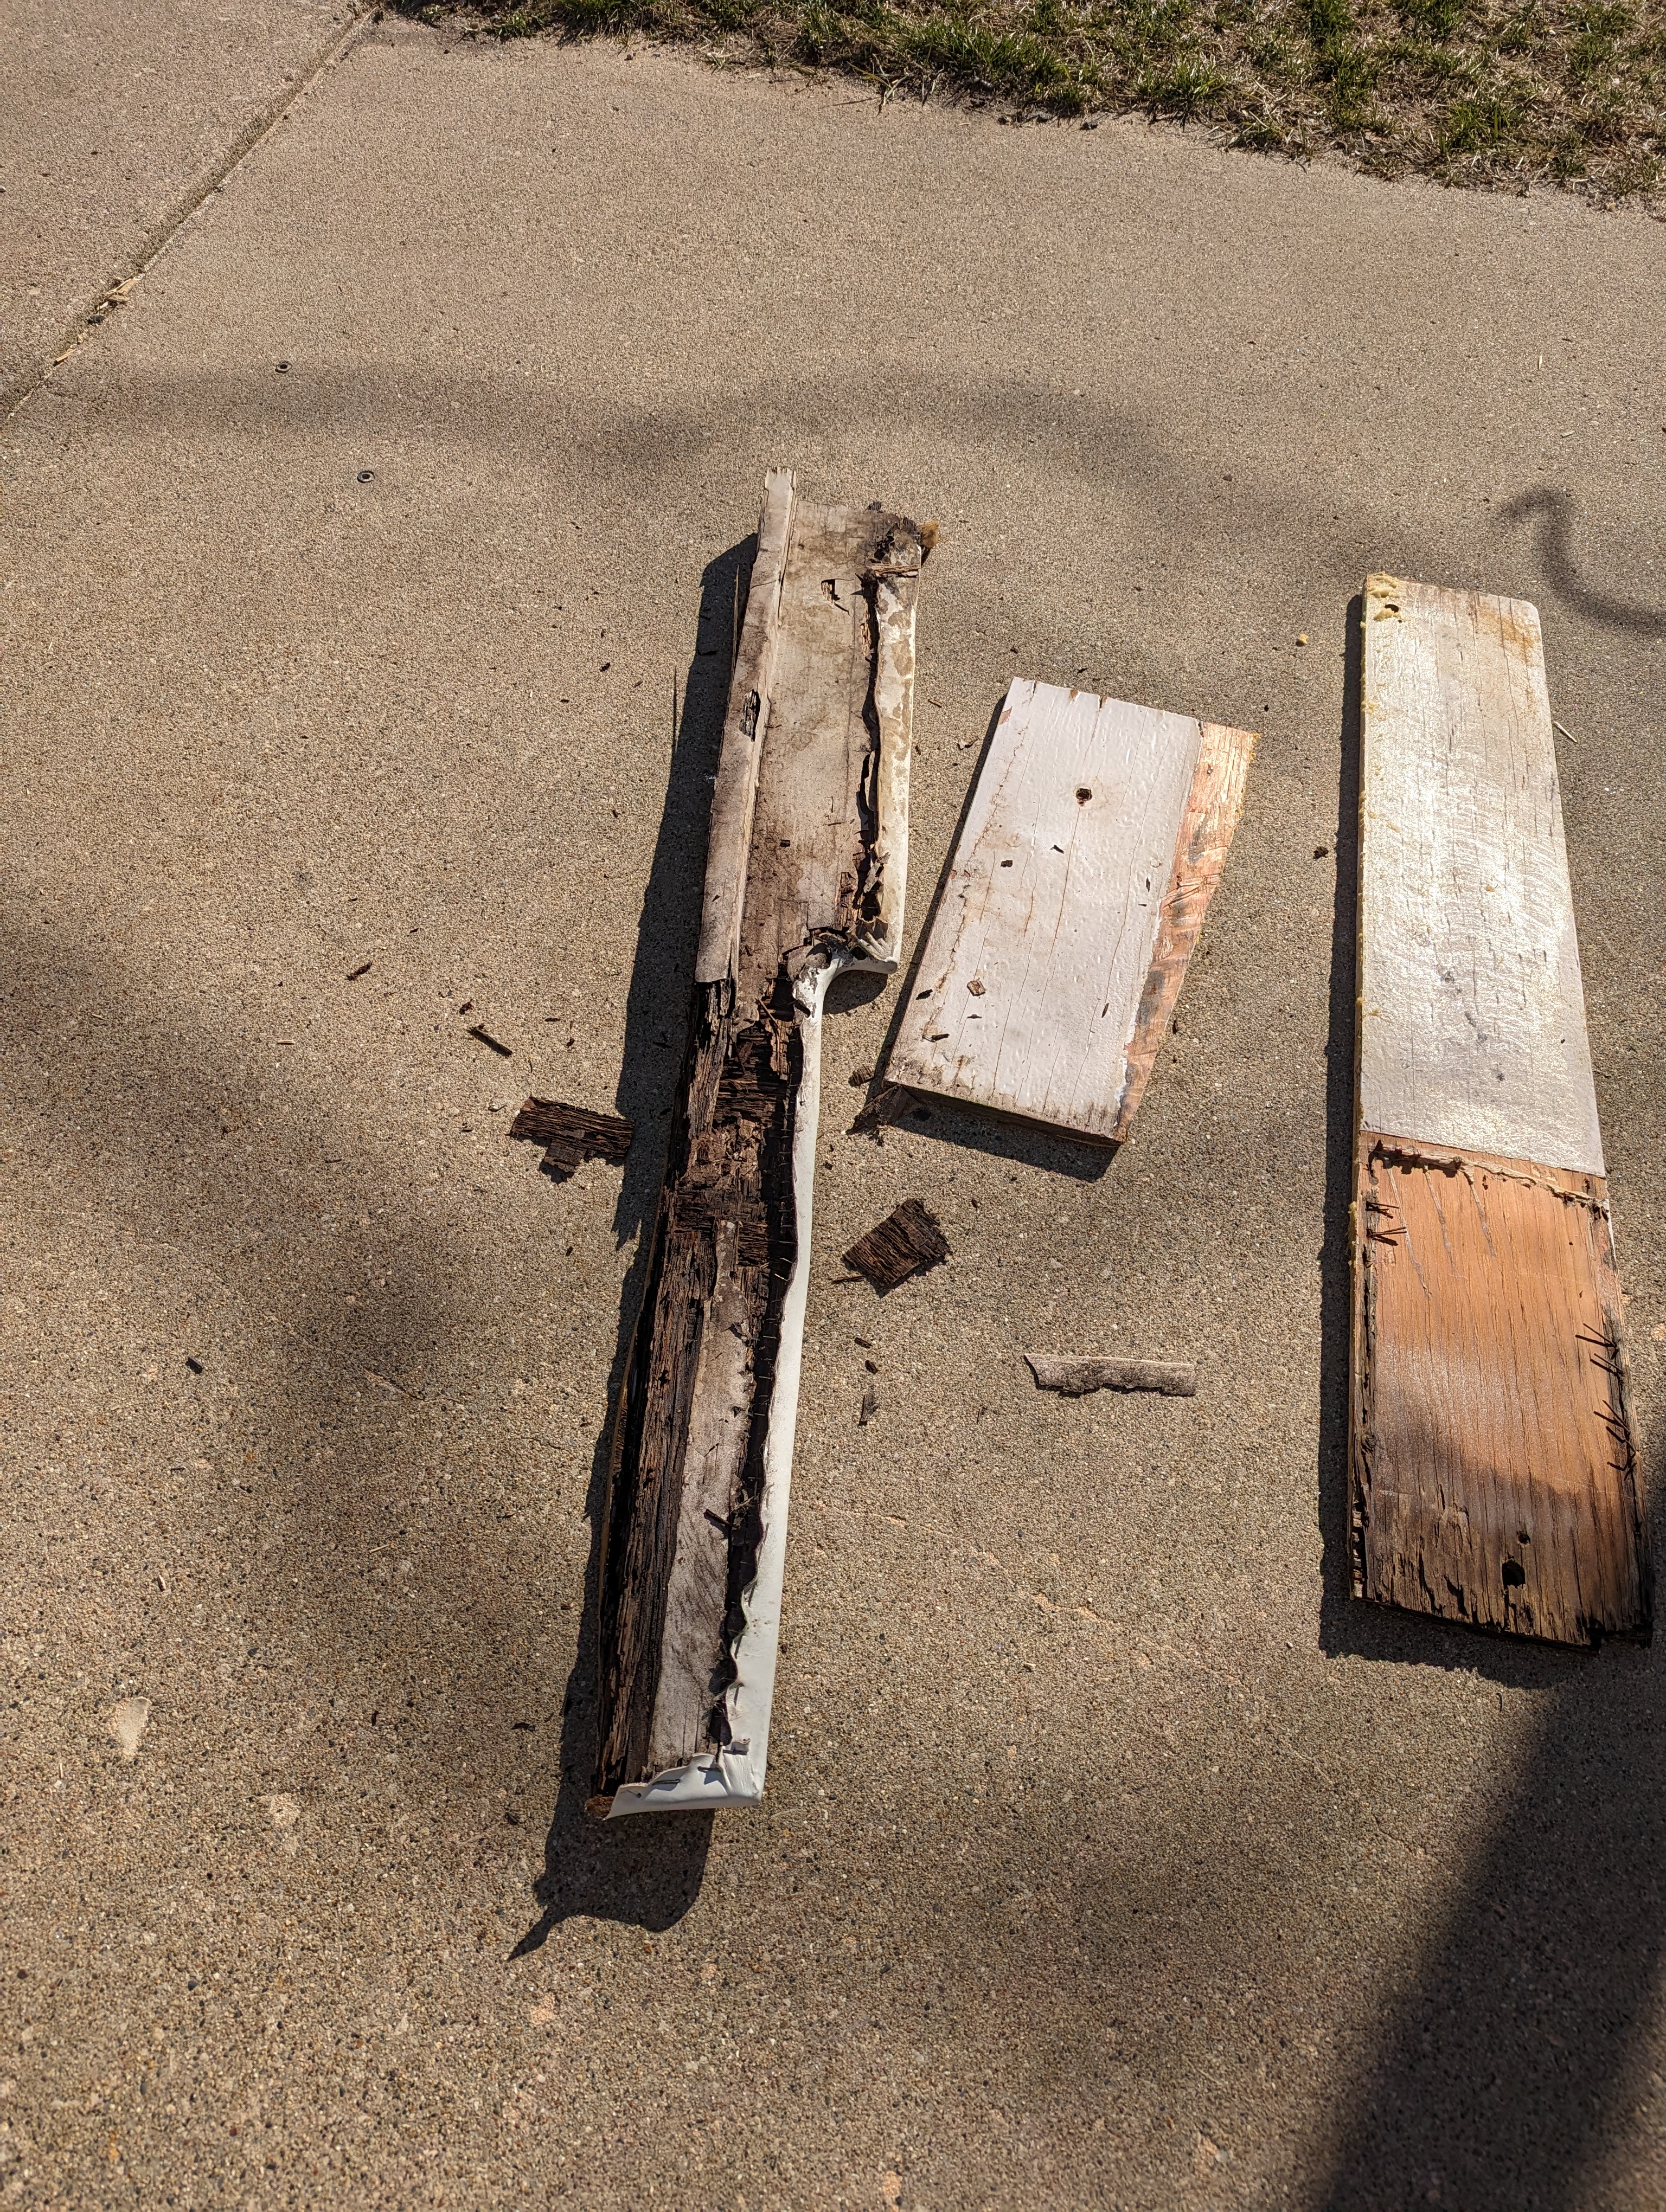
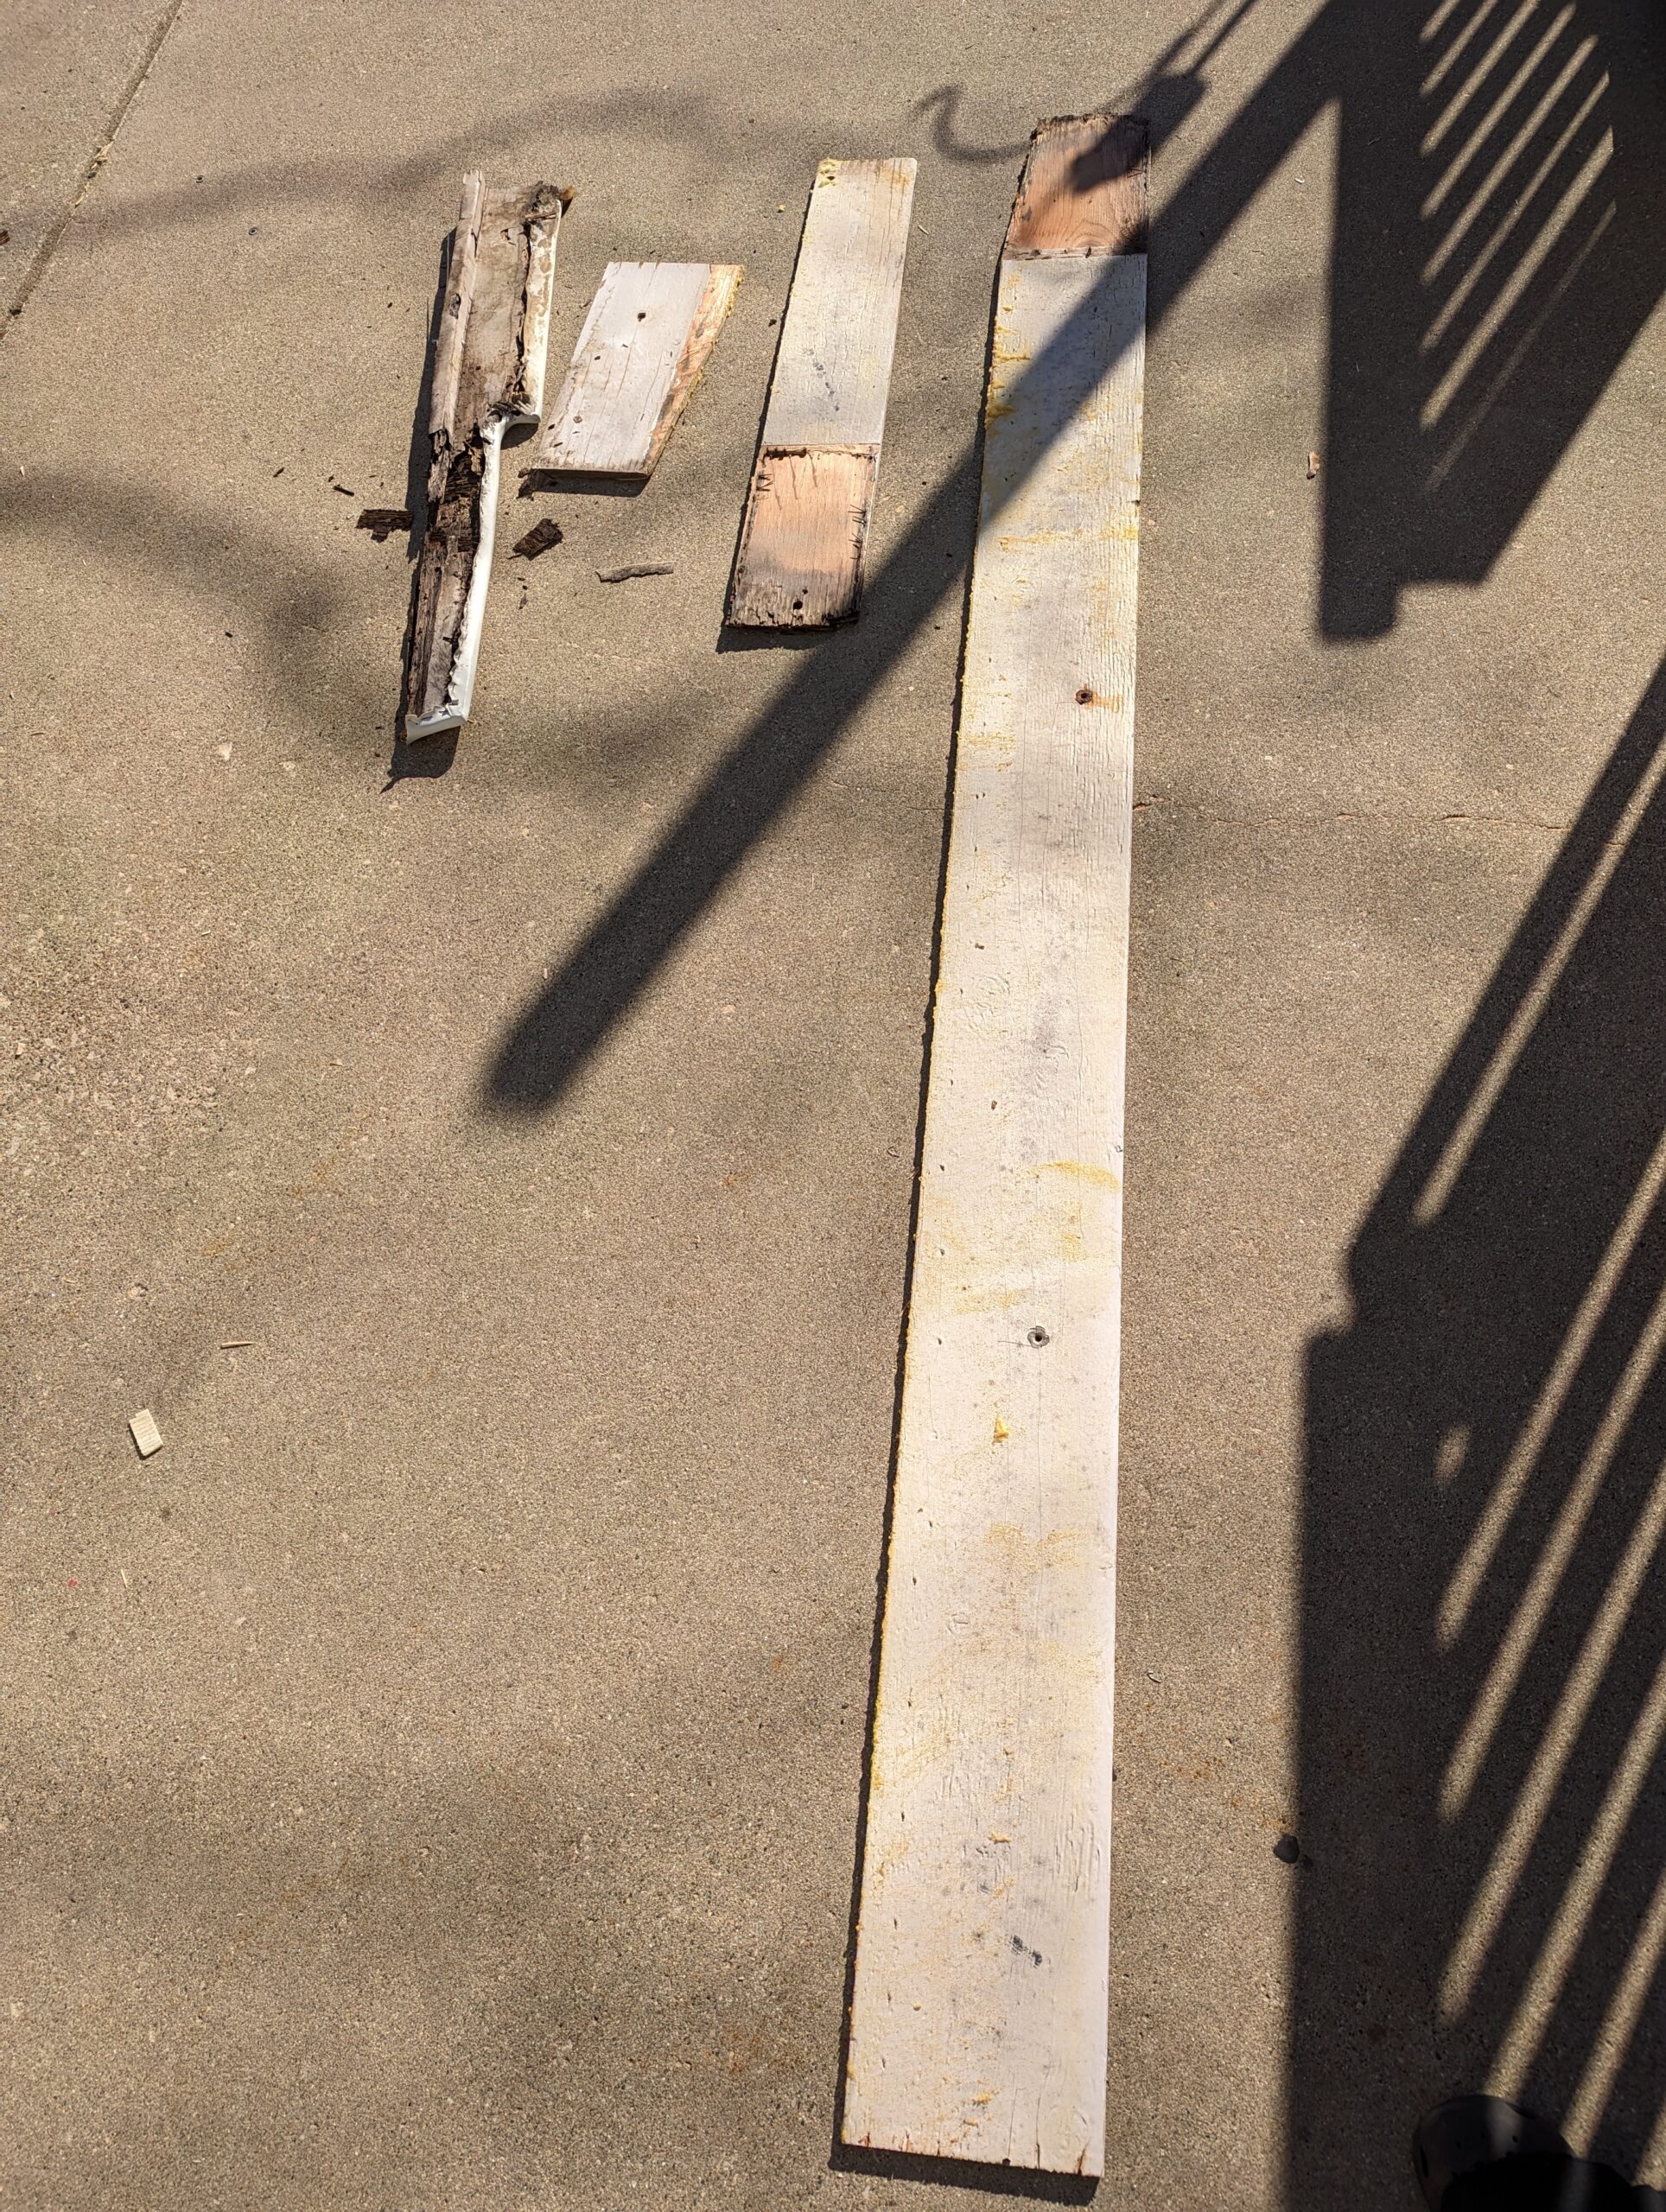
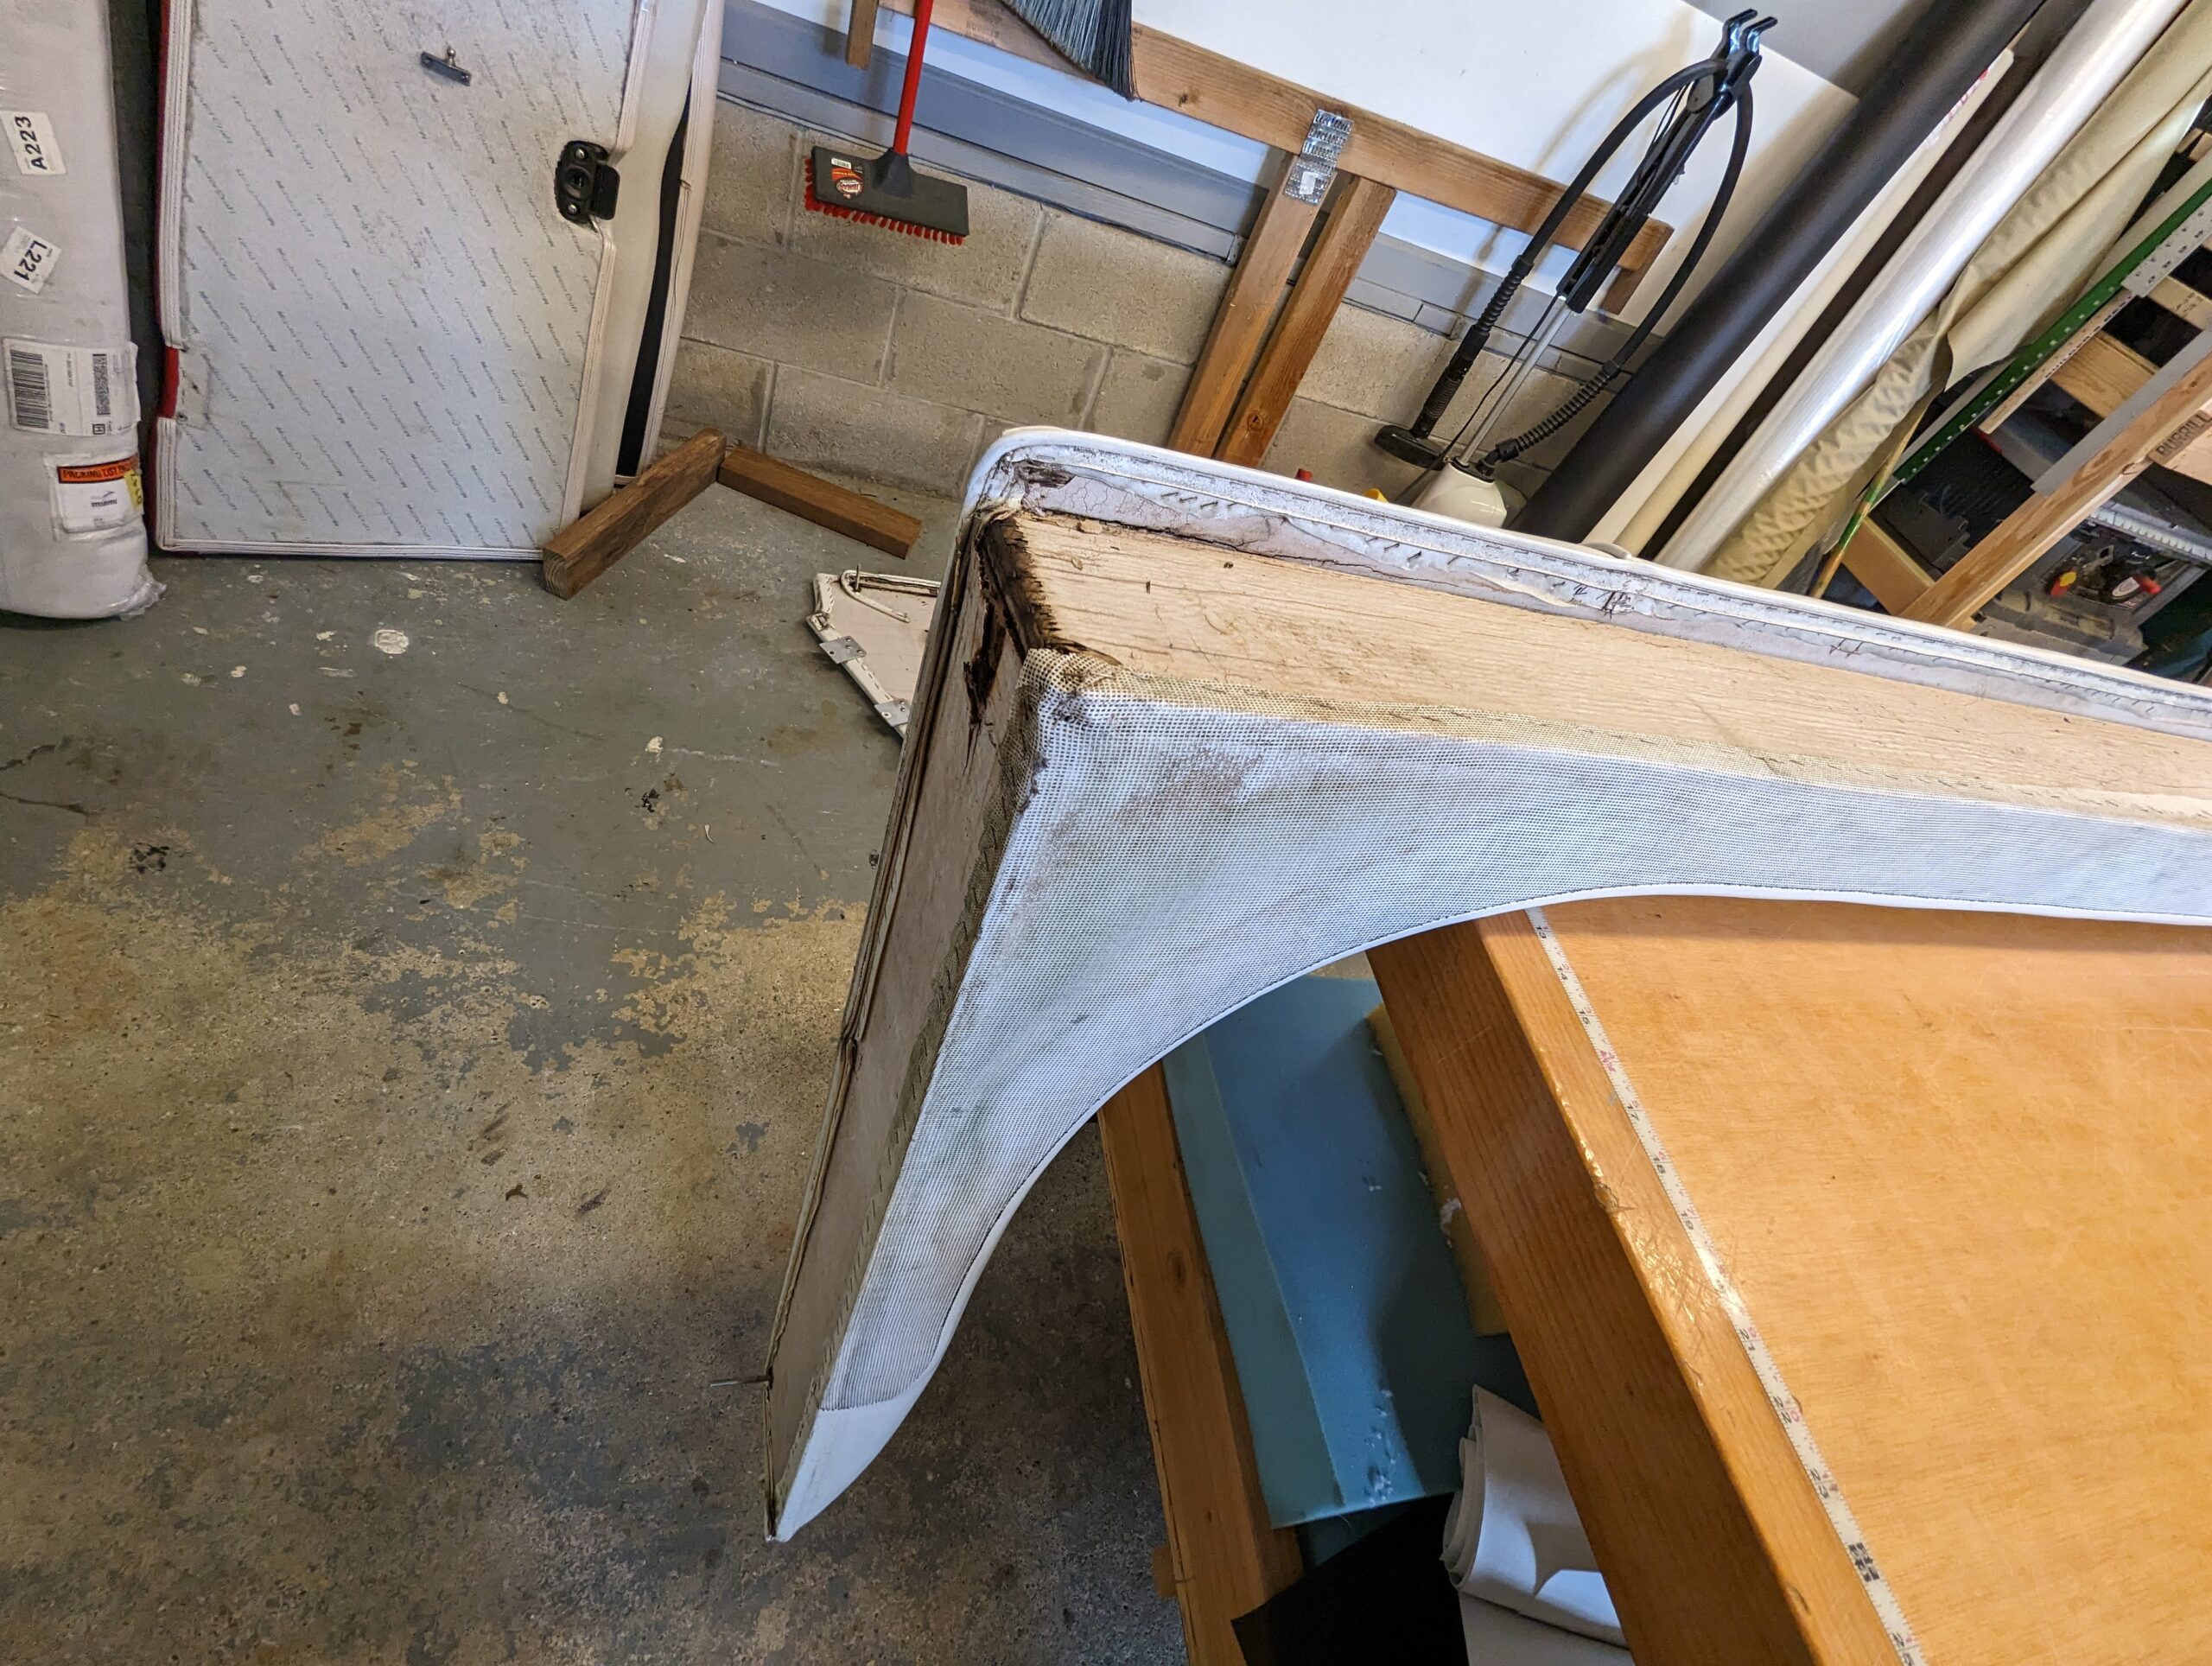
These boat seat pieces are falling apart after years of exposure to the elements. It’s easy for boat owners to see this and assume that there is no way to fix it. And, technically, they are right; it’s not fixable. But, with this step-by-step guide, you can recreate them!
Step One
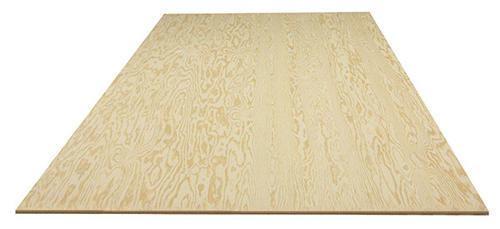
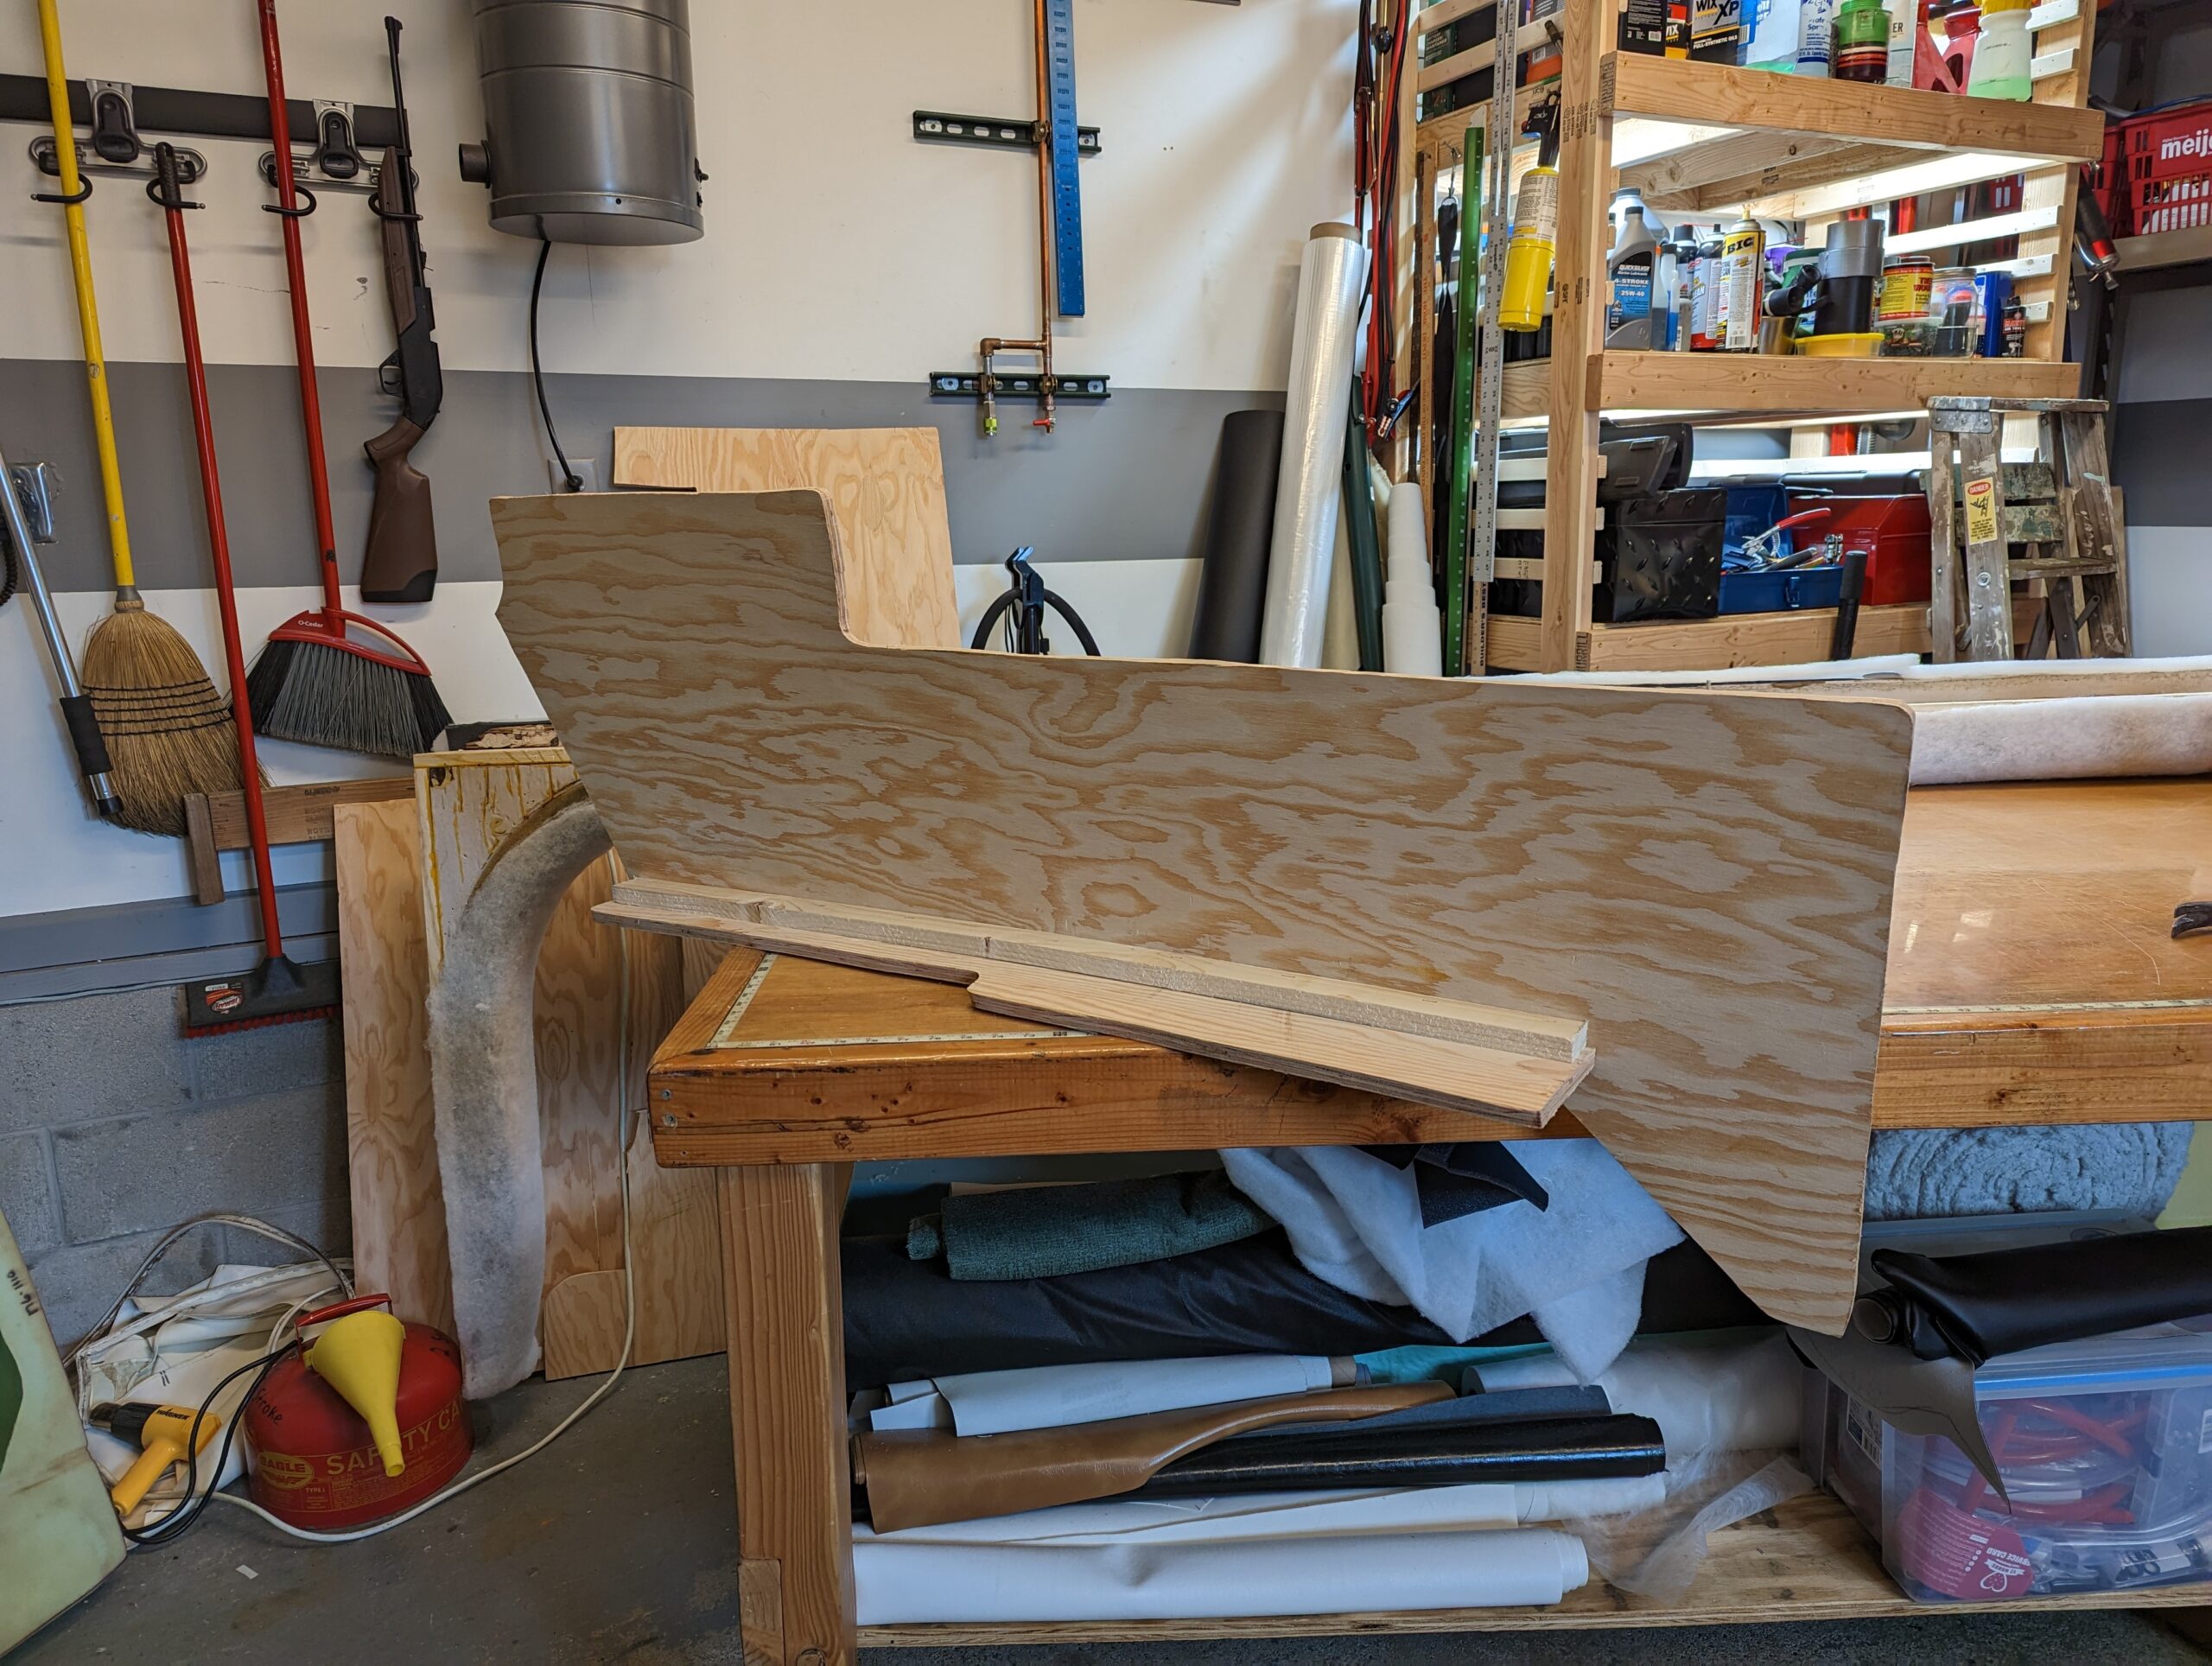
First, you need to measure the piece and determine what type of wood you’ll need to recreate it. In this case, I used a 4’x8′ sheet of 3/4″ marine-grade plywood, two 1×10 common boards, and a 1×8. It’s important to ensure that you are matching the exisiting wood as closely as possible so that the new pieces will fit seamlessly in the boat.
Step Two
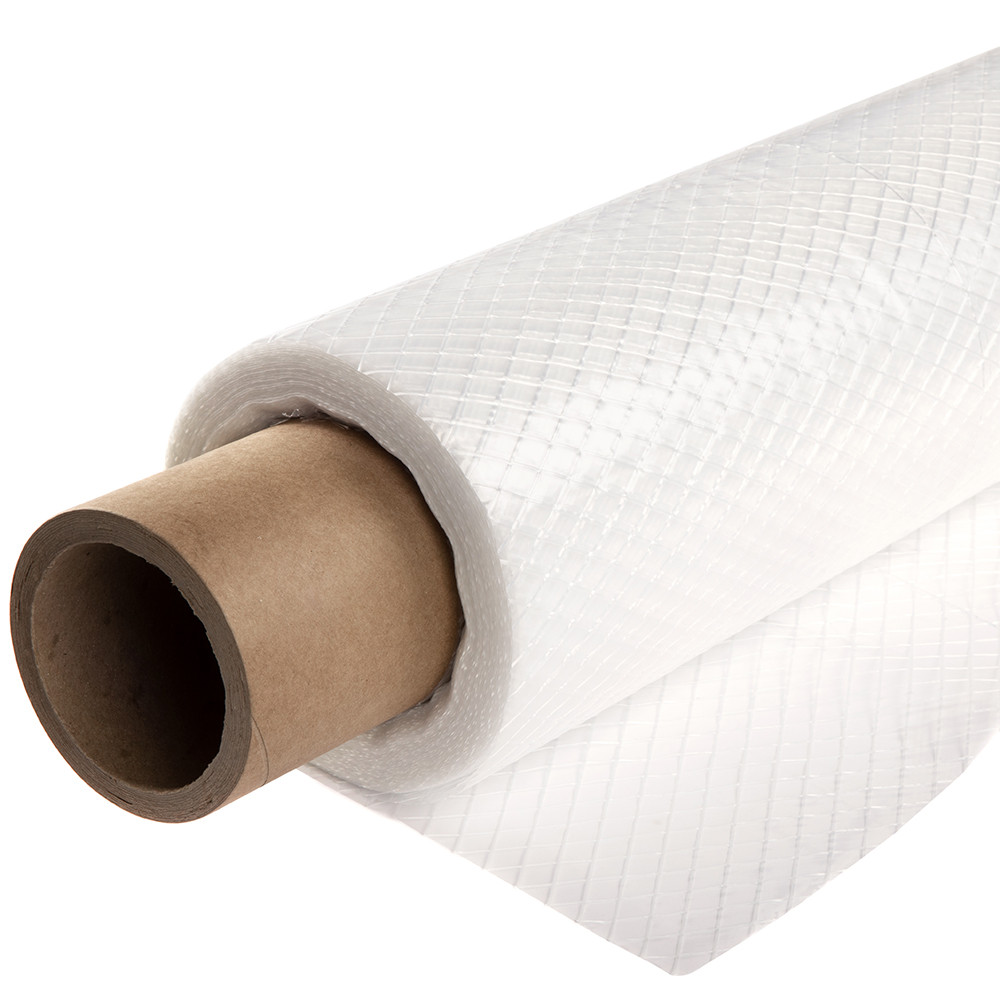
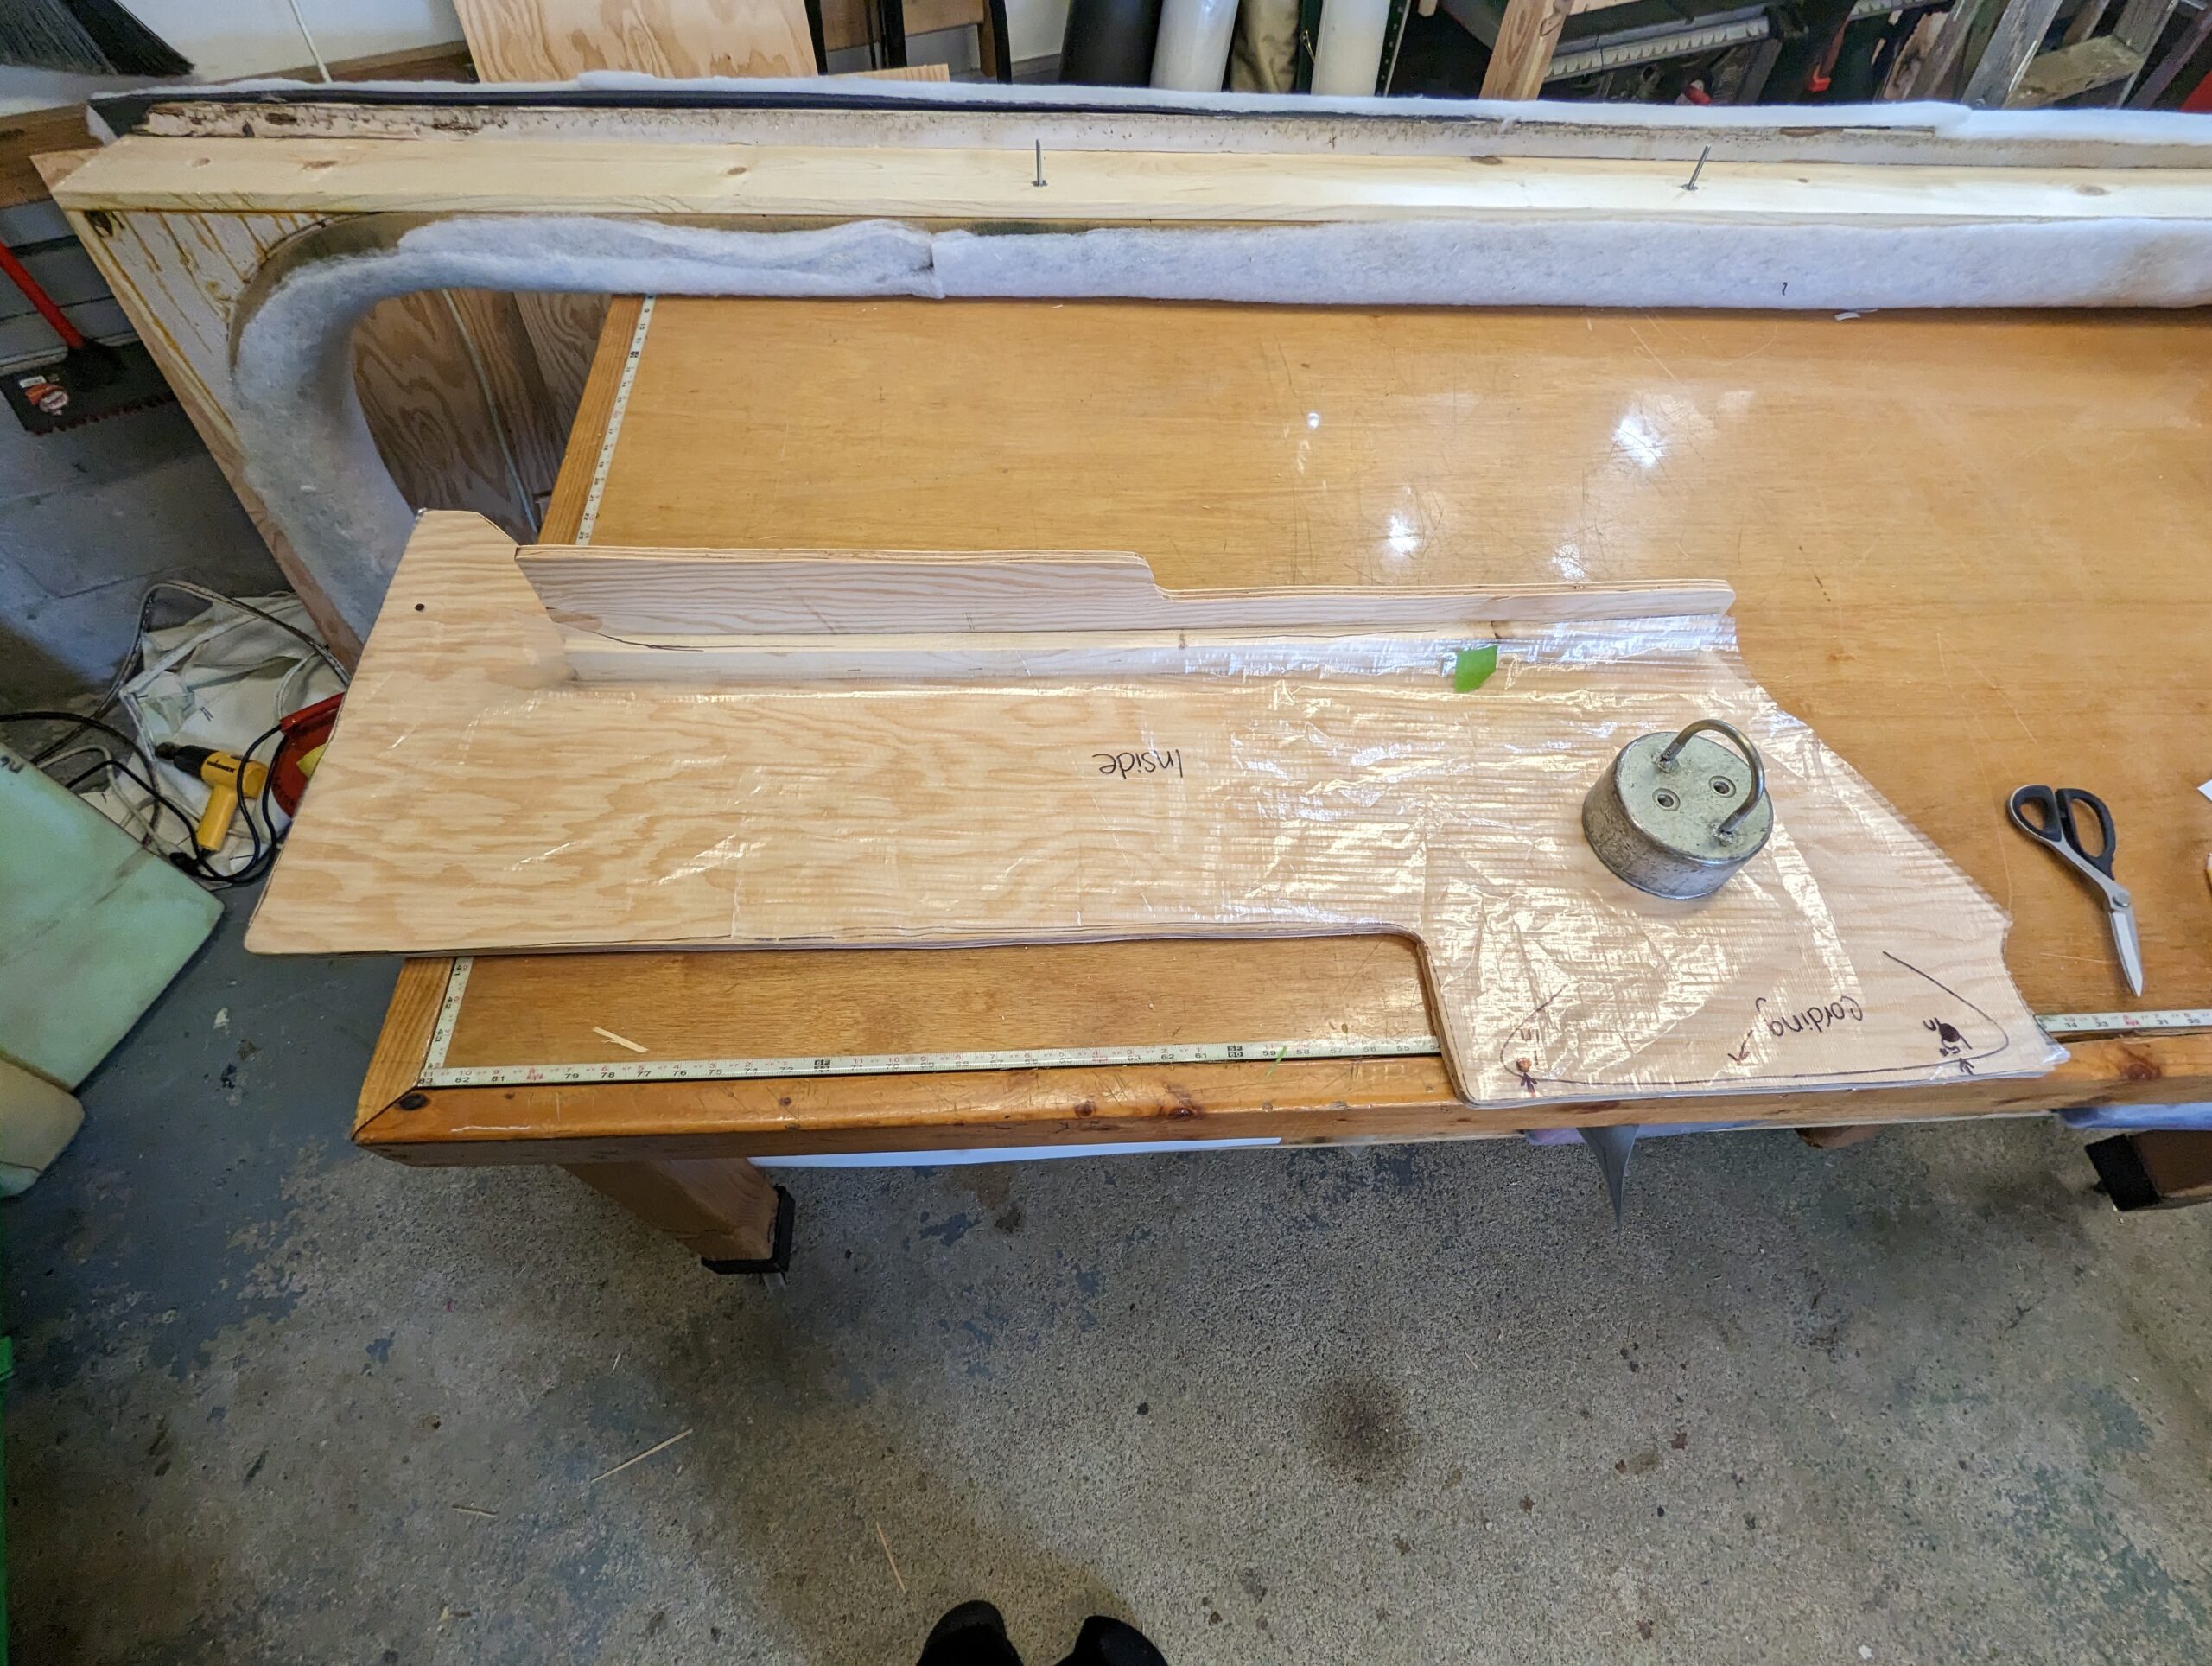
Next, you’ll need to cut the new pieces to fit. For the long seat back, I was able to simply measure the old piece, mark lines on the new boards, and cut them to fit. For the more complex seat, I used Dura Skrim to create a pattern, traced that onto the sheet of plywood, and used a jigsaw to cut it out. Go slow! Remember the golden rule: measure twice, cut once.
Step Three
Once the pieces are all cut, it’s time to put them together. I used wood glue, clamps, and a pneumatic construction stapler shooting 2″ stainless steel, 7/16″ medium crown staples. When using the stapler, do some practice shots to ensure that your depth is set correctly. Leave the glued pieces clamped for 24 hours, if you can.
Step Four
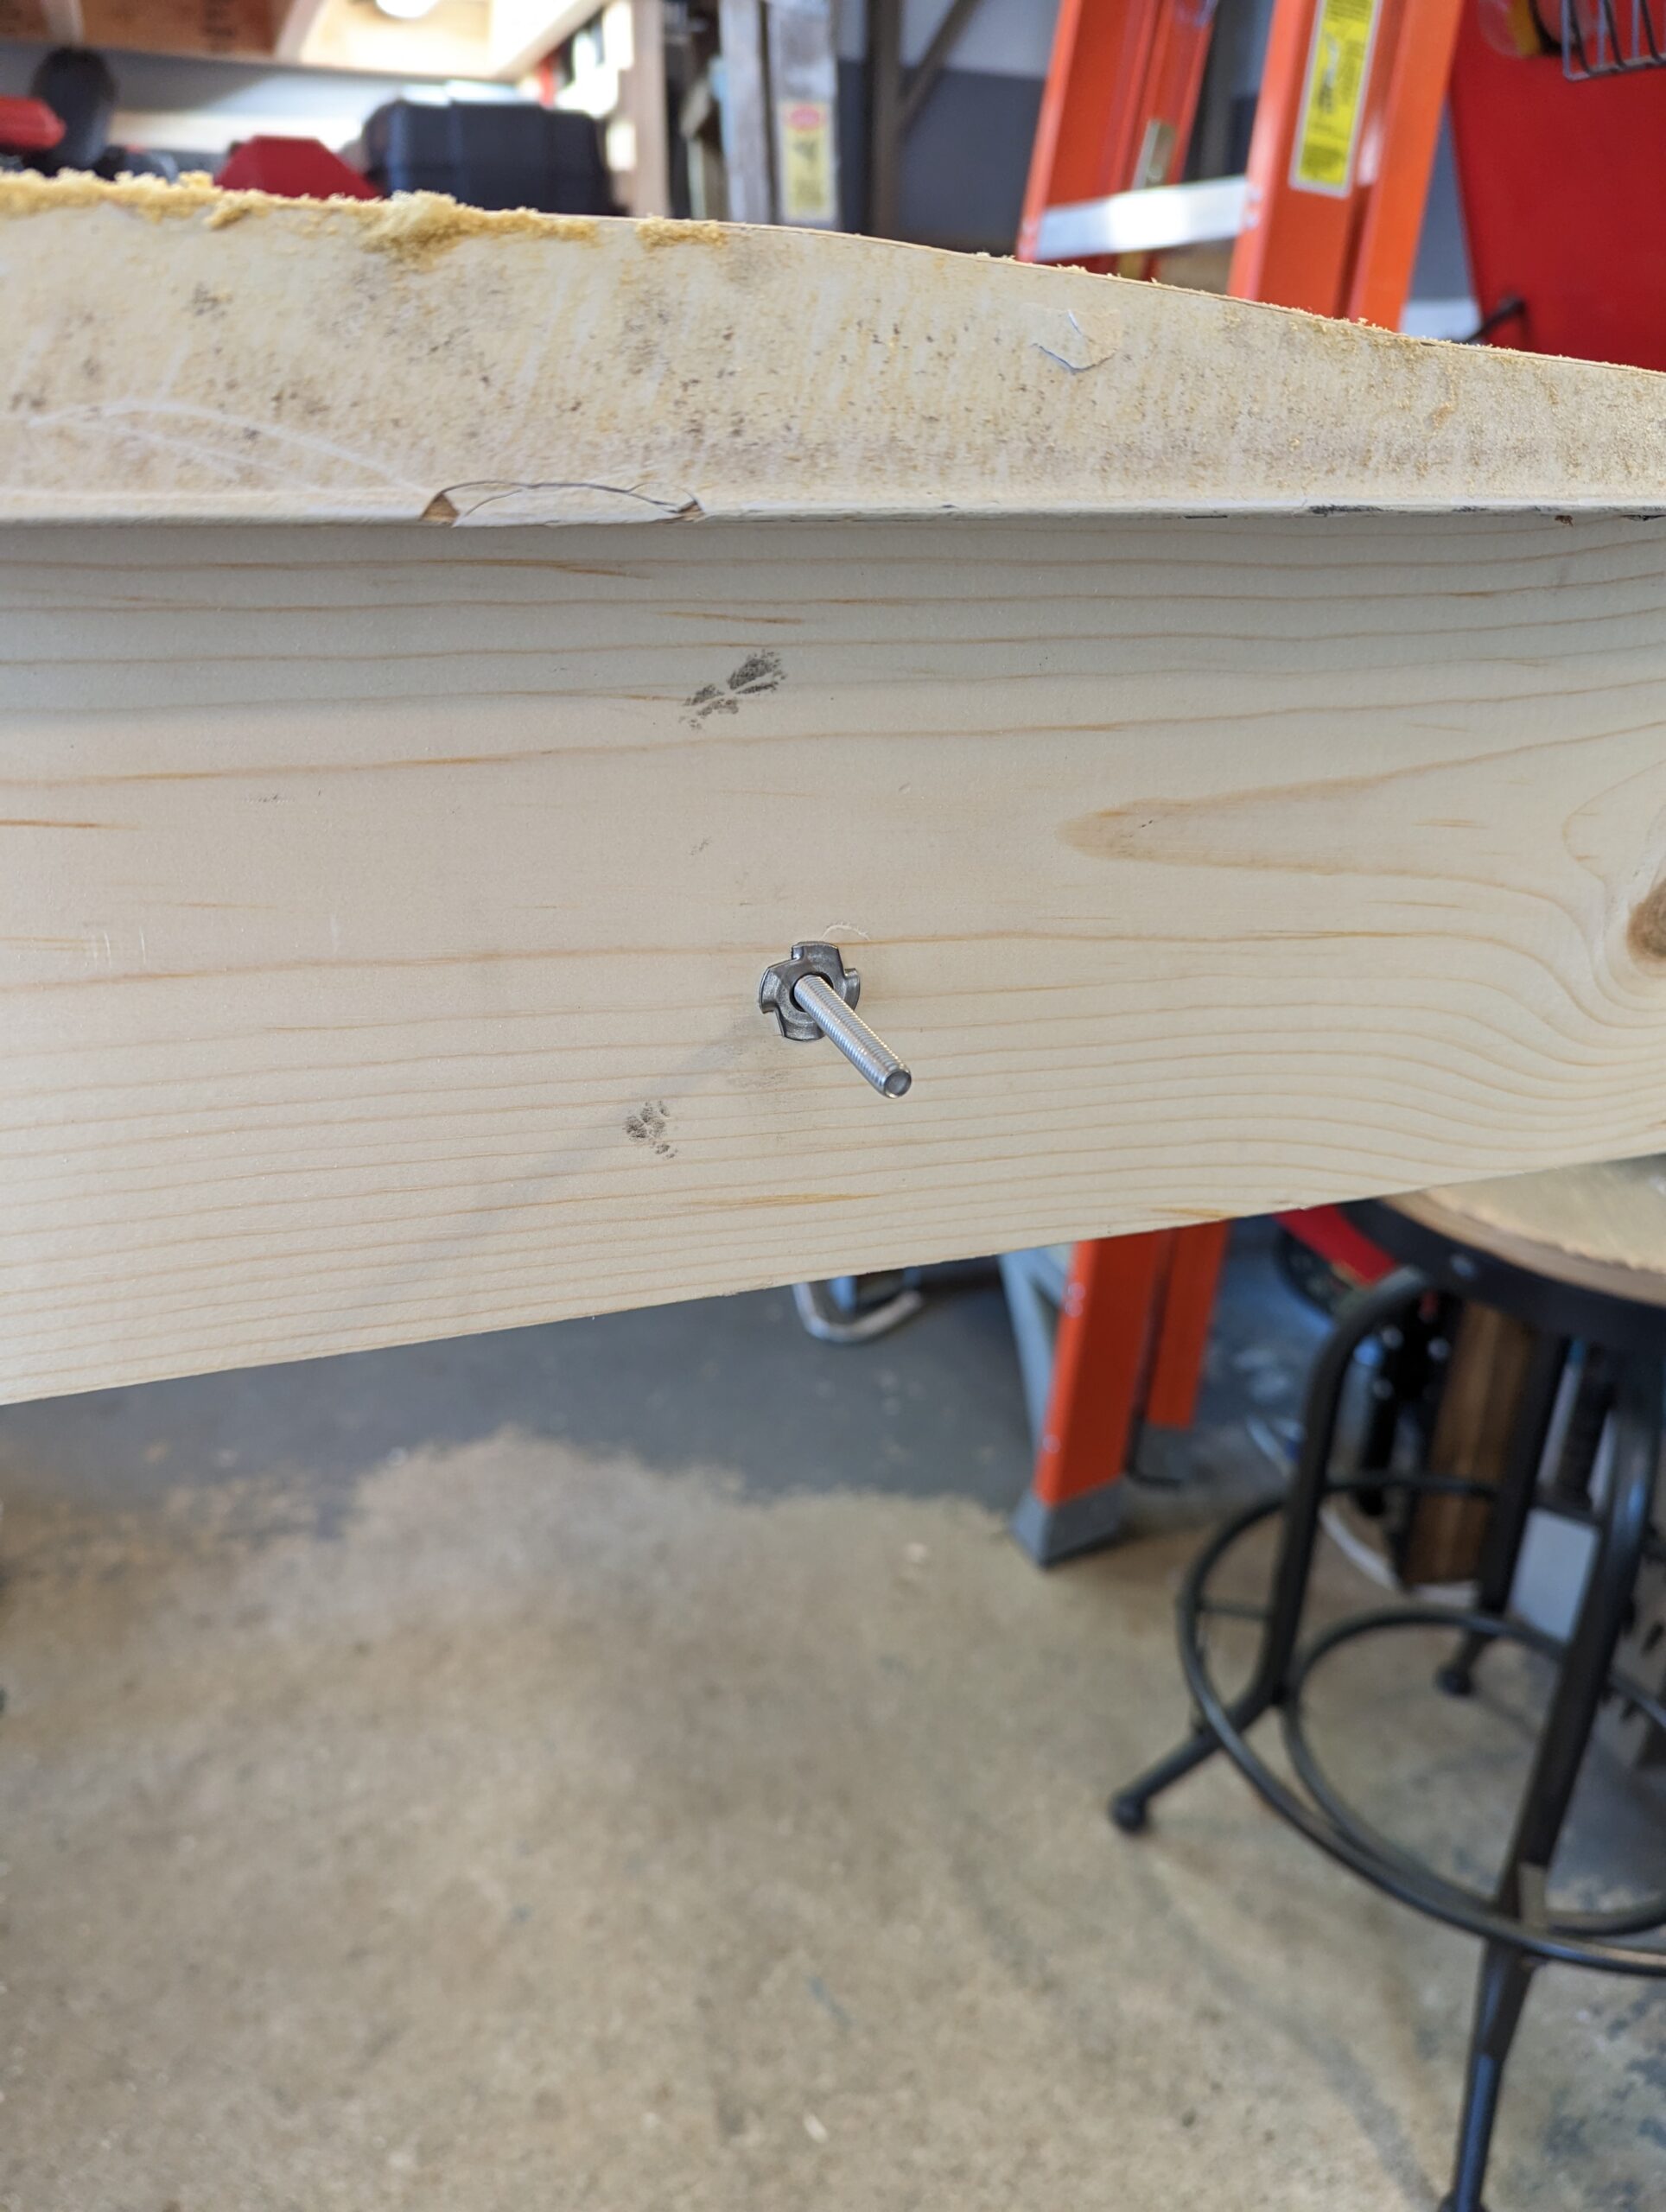
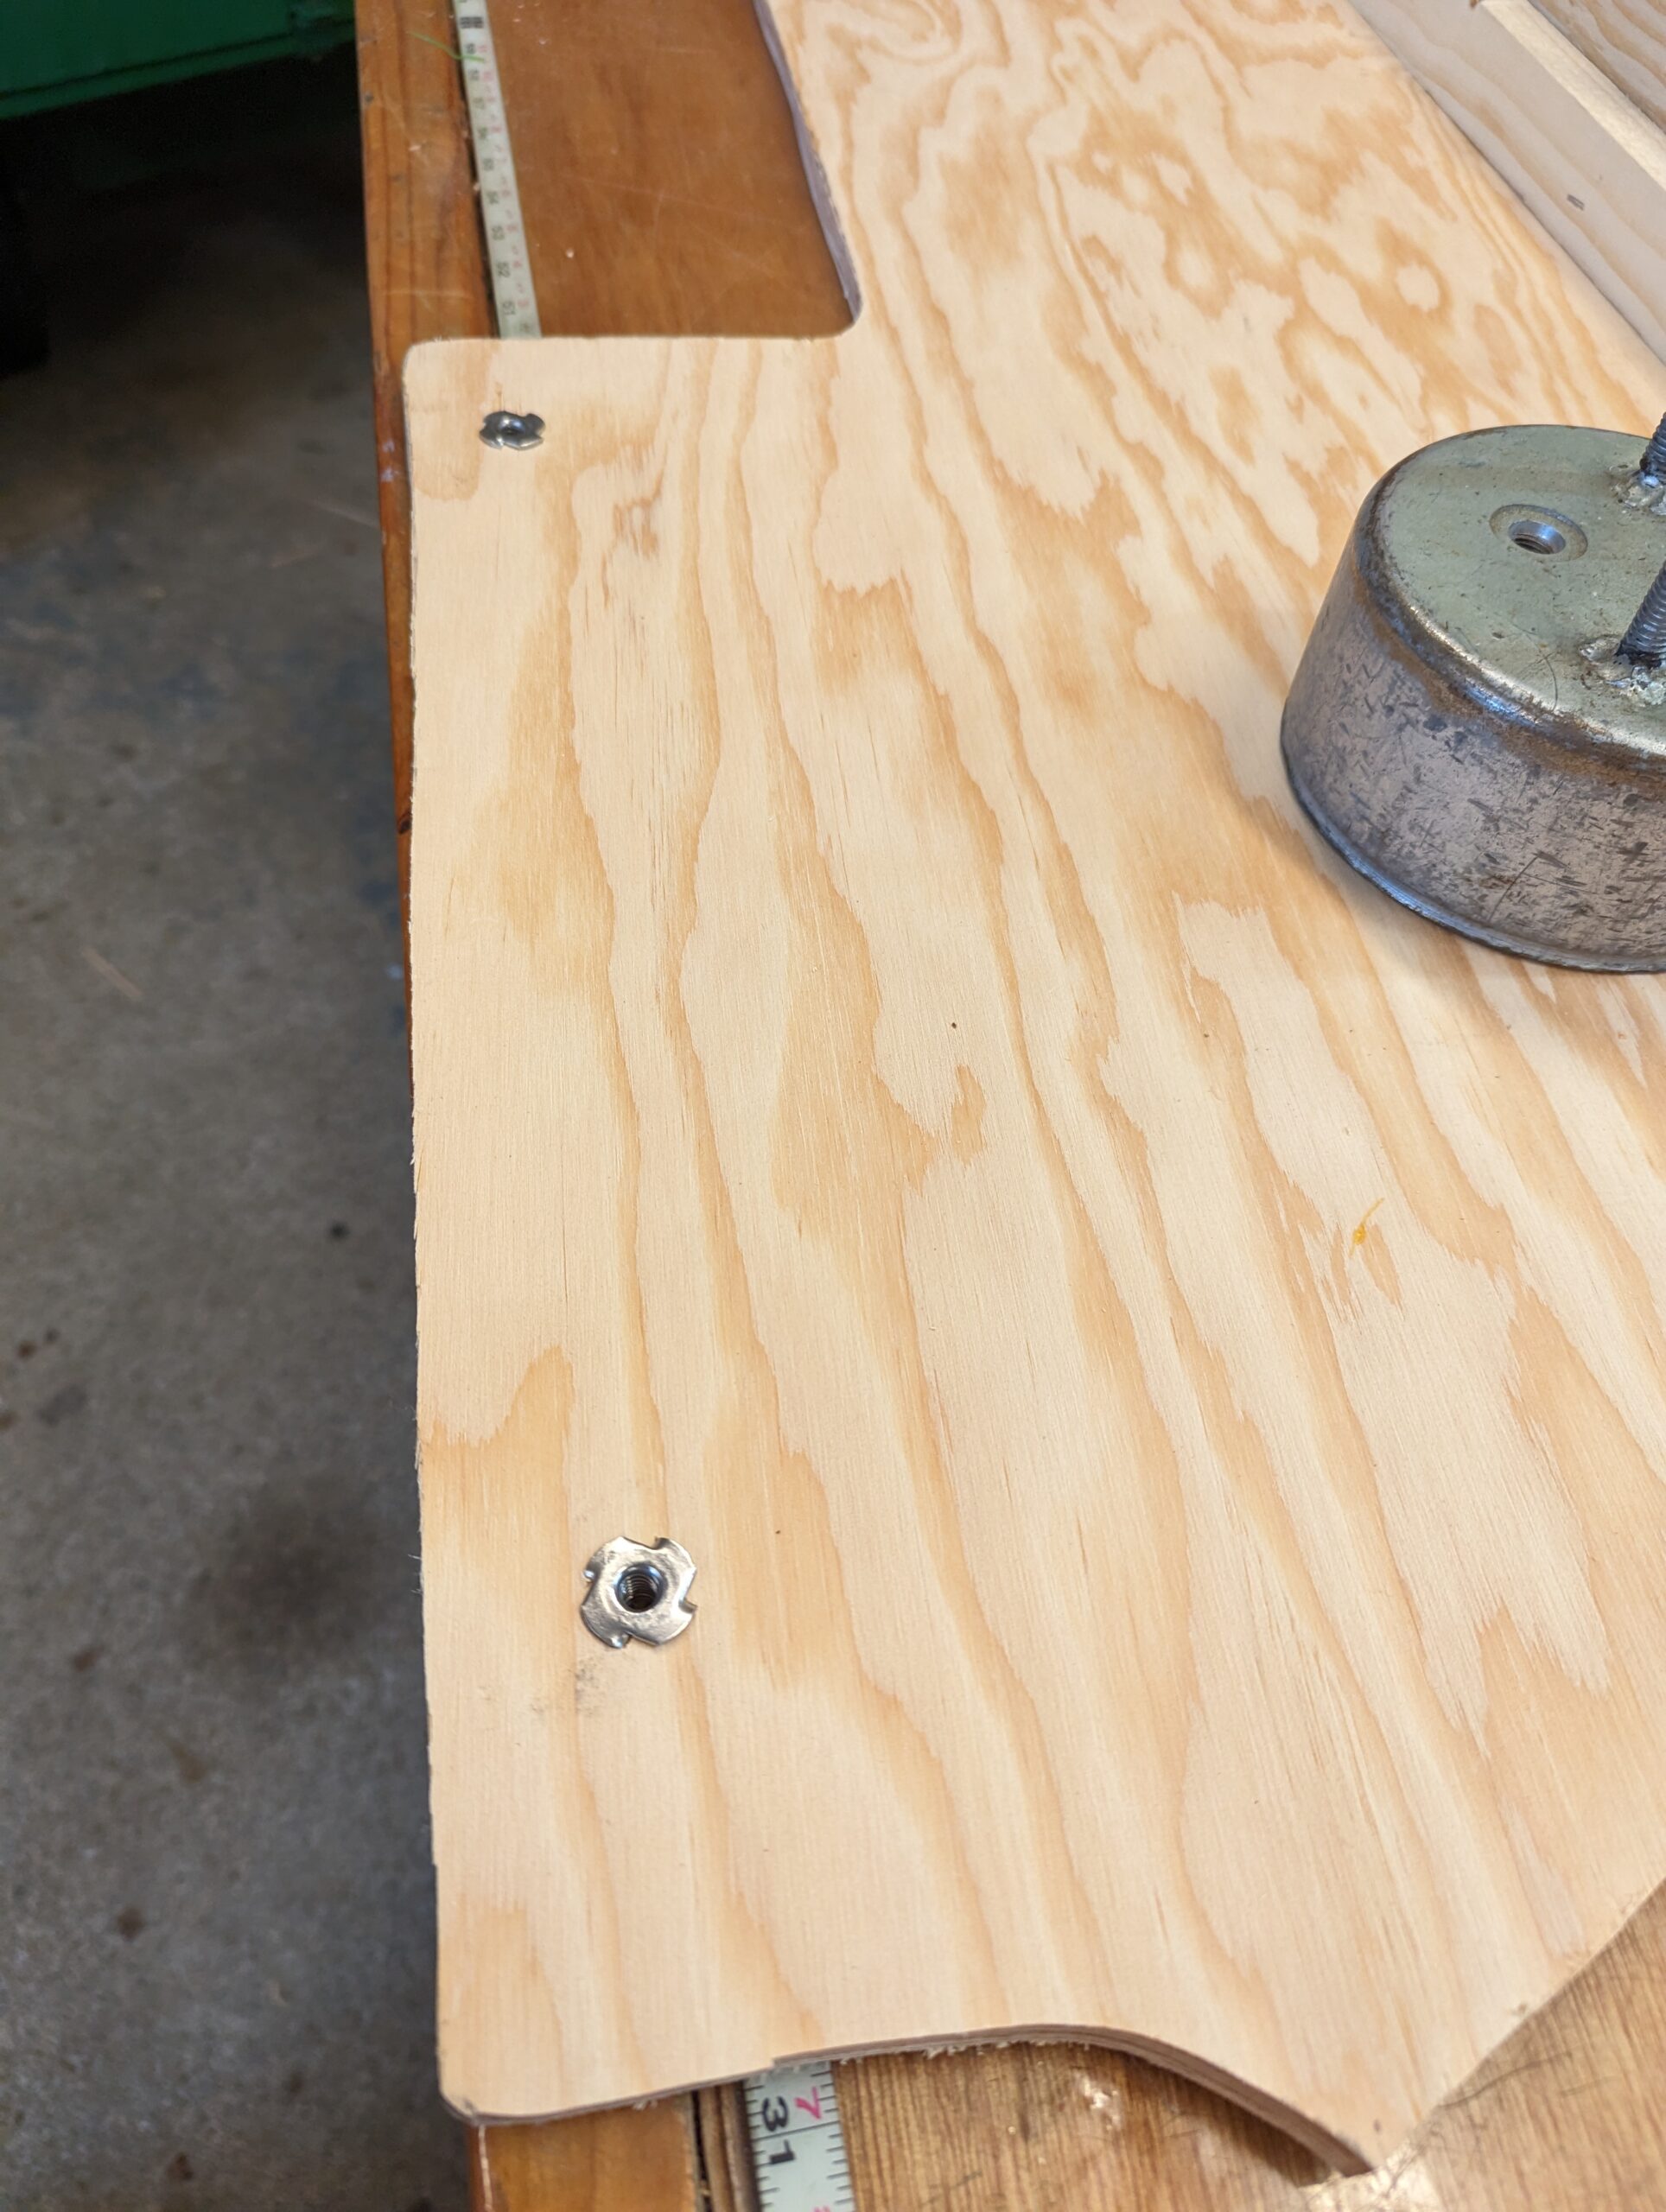
These panels were attached to the boat with bolts and teenuts. When I was patterning the original pieces, I added marks on the Dura Skrim to show where the teenuts/bolts needed to go. Once marked on the new pieces, I drilled the holes out with a 5/16″ drill bit and installed 1/4″ teenuts.
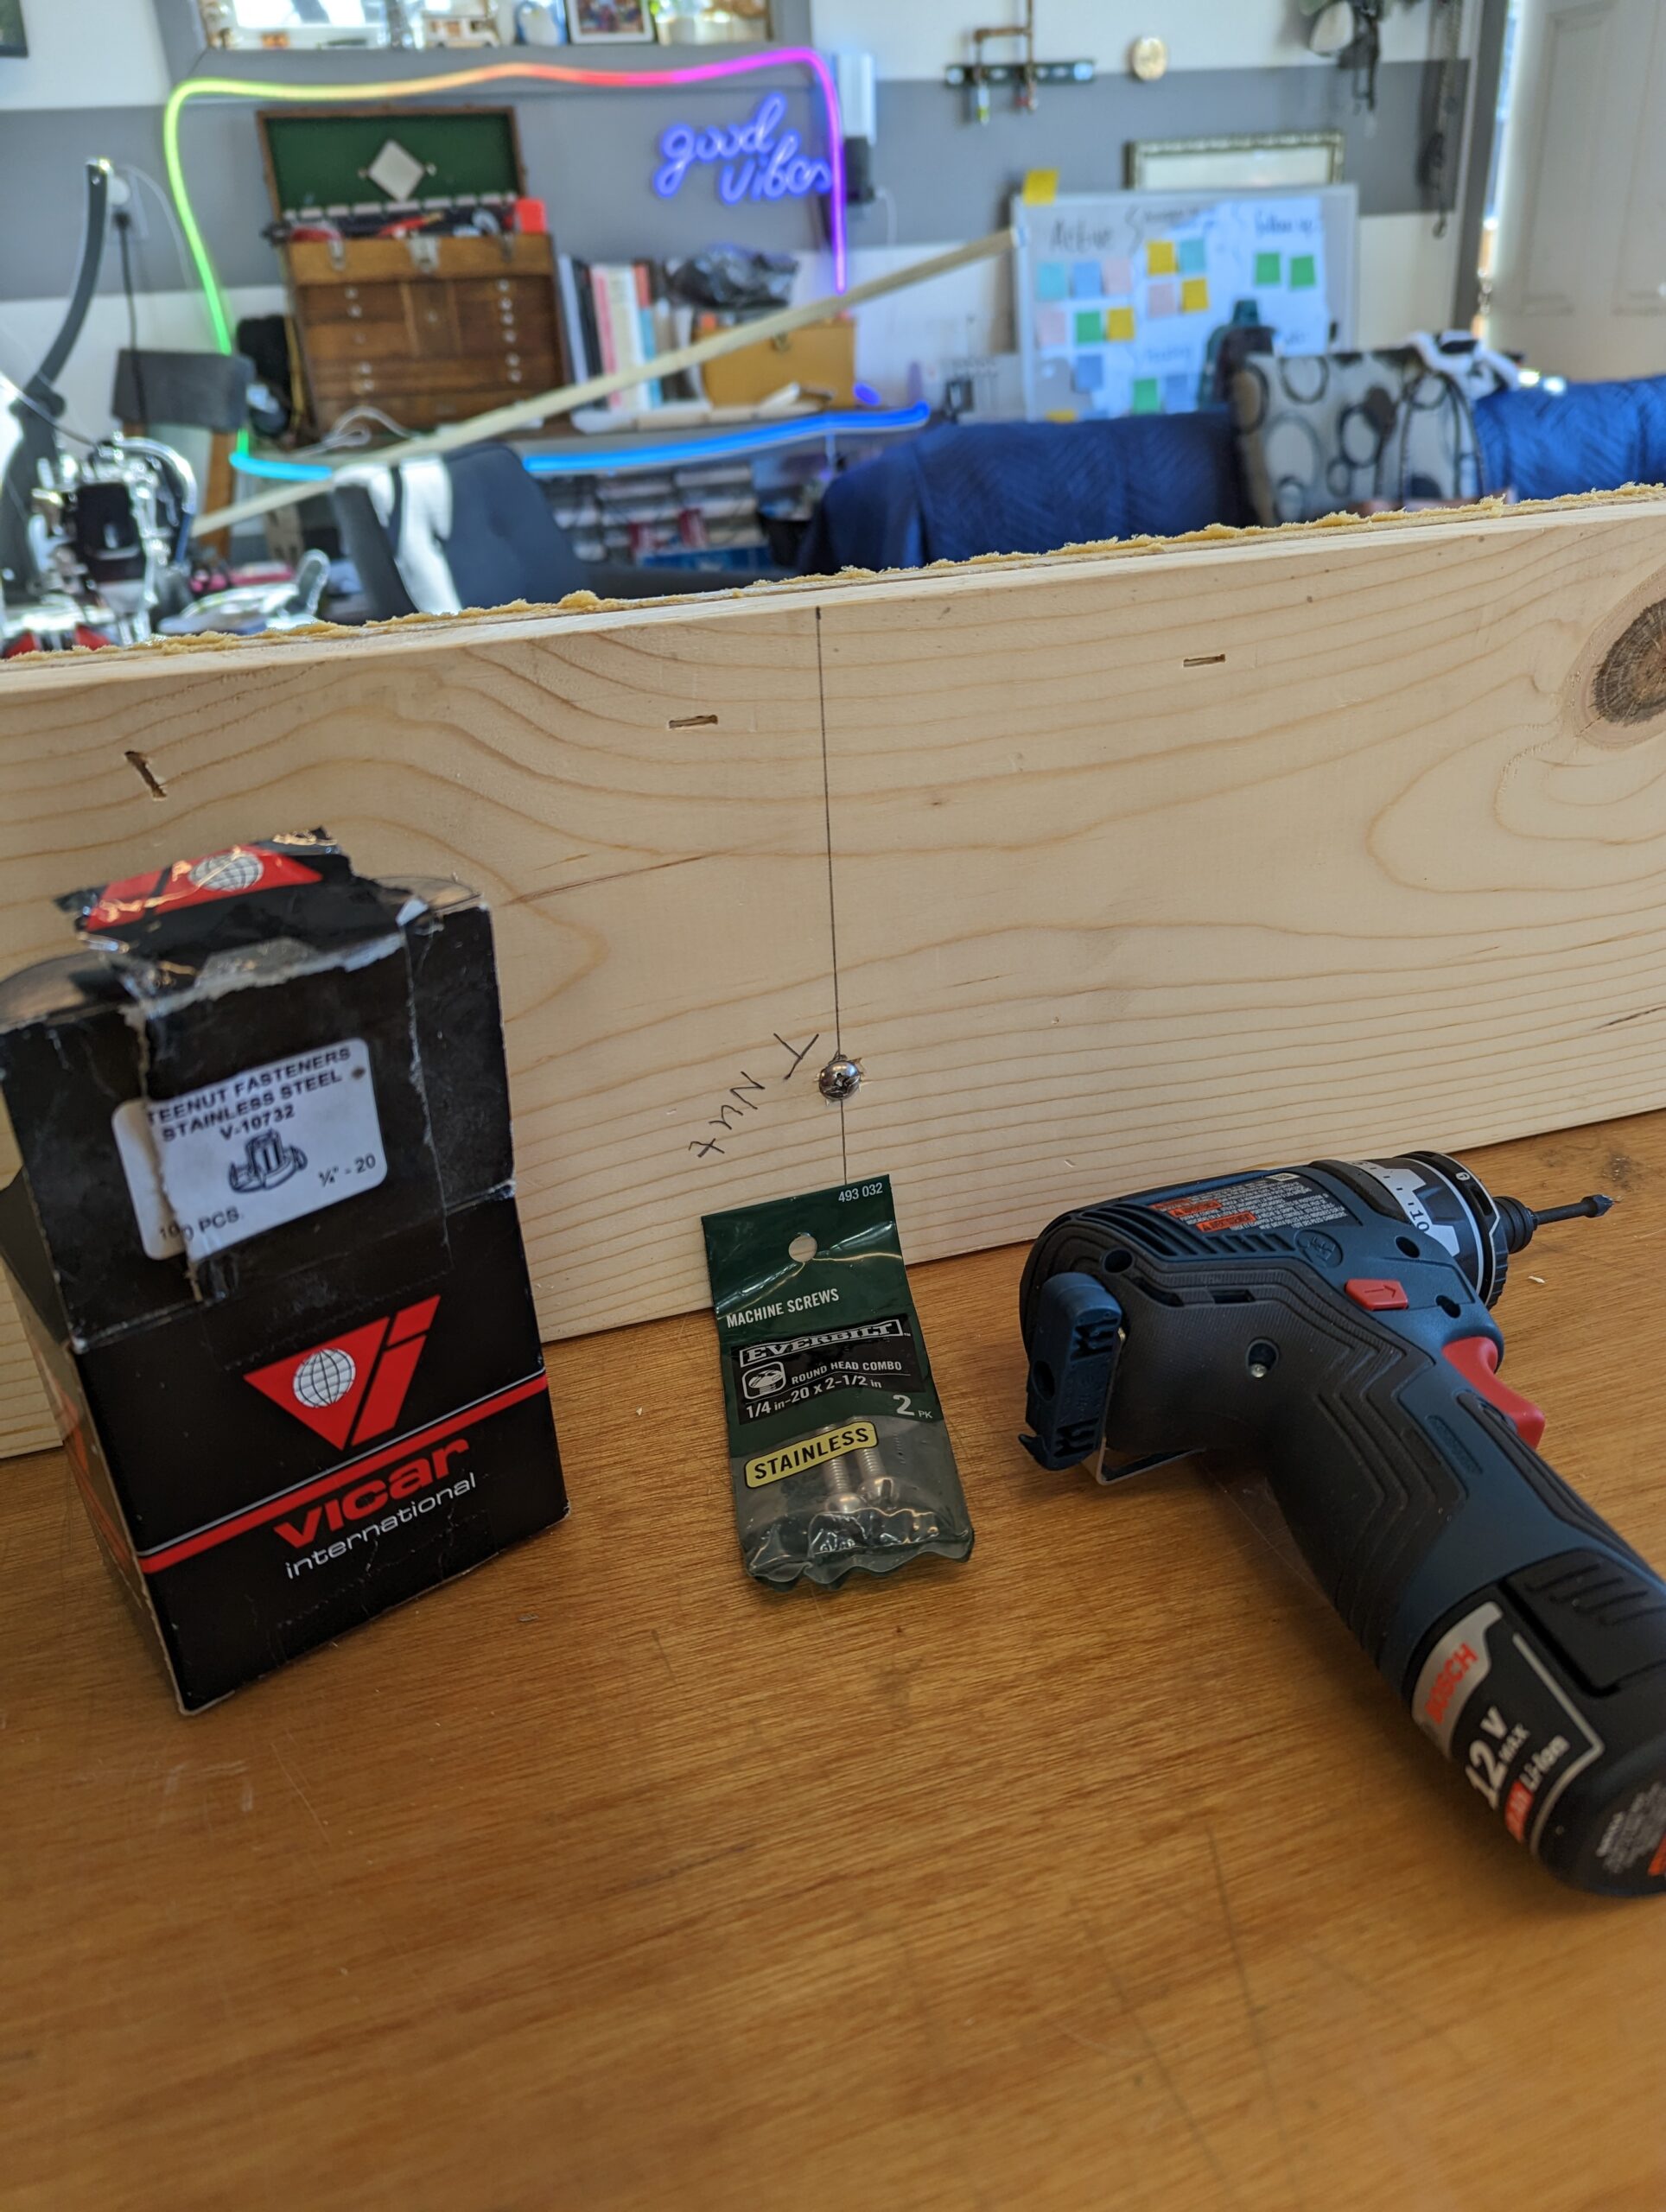
Once the teenuts are installed, you can put in the bolts. Make sure to use all stainless steel if being used on a boat.

Step Five
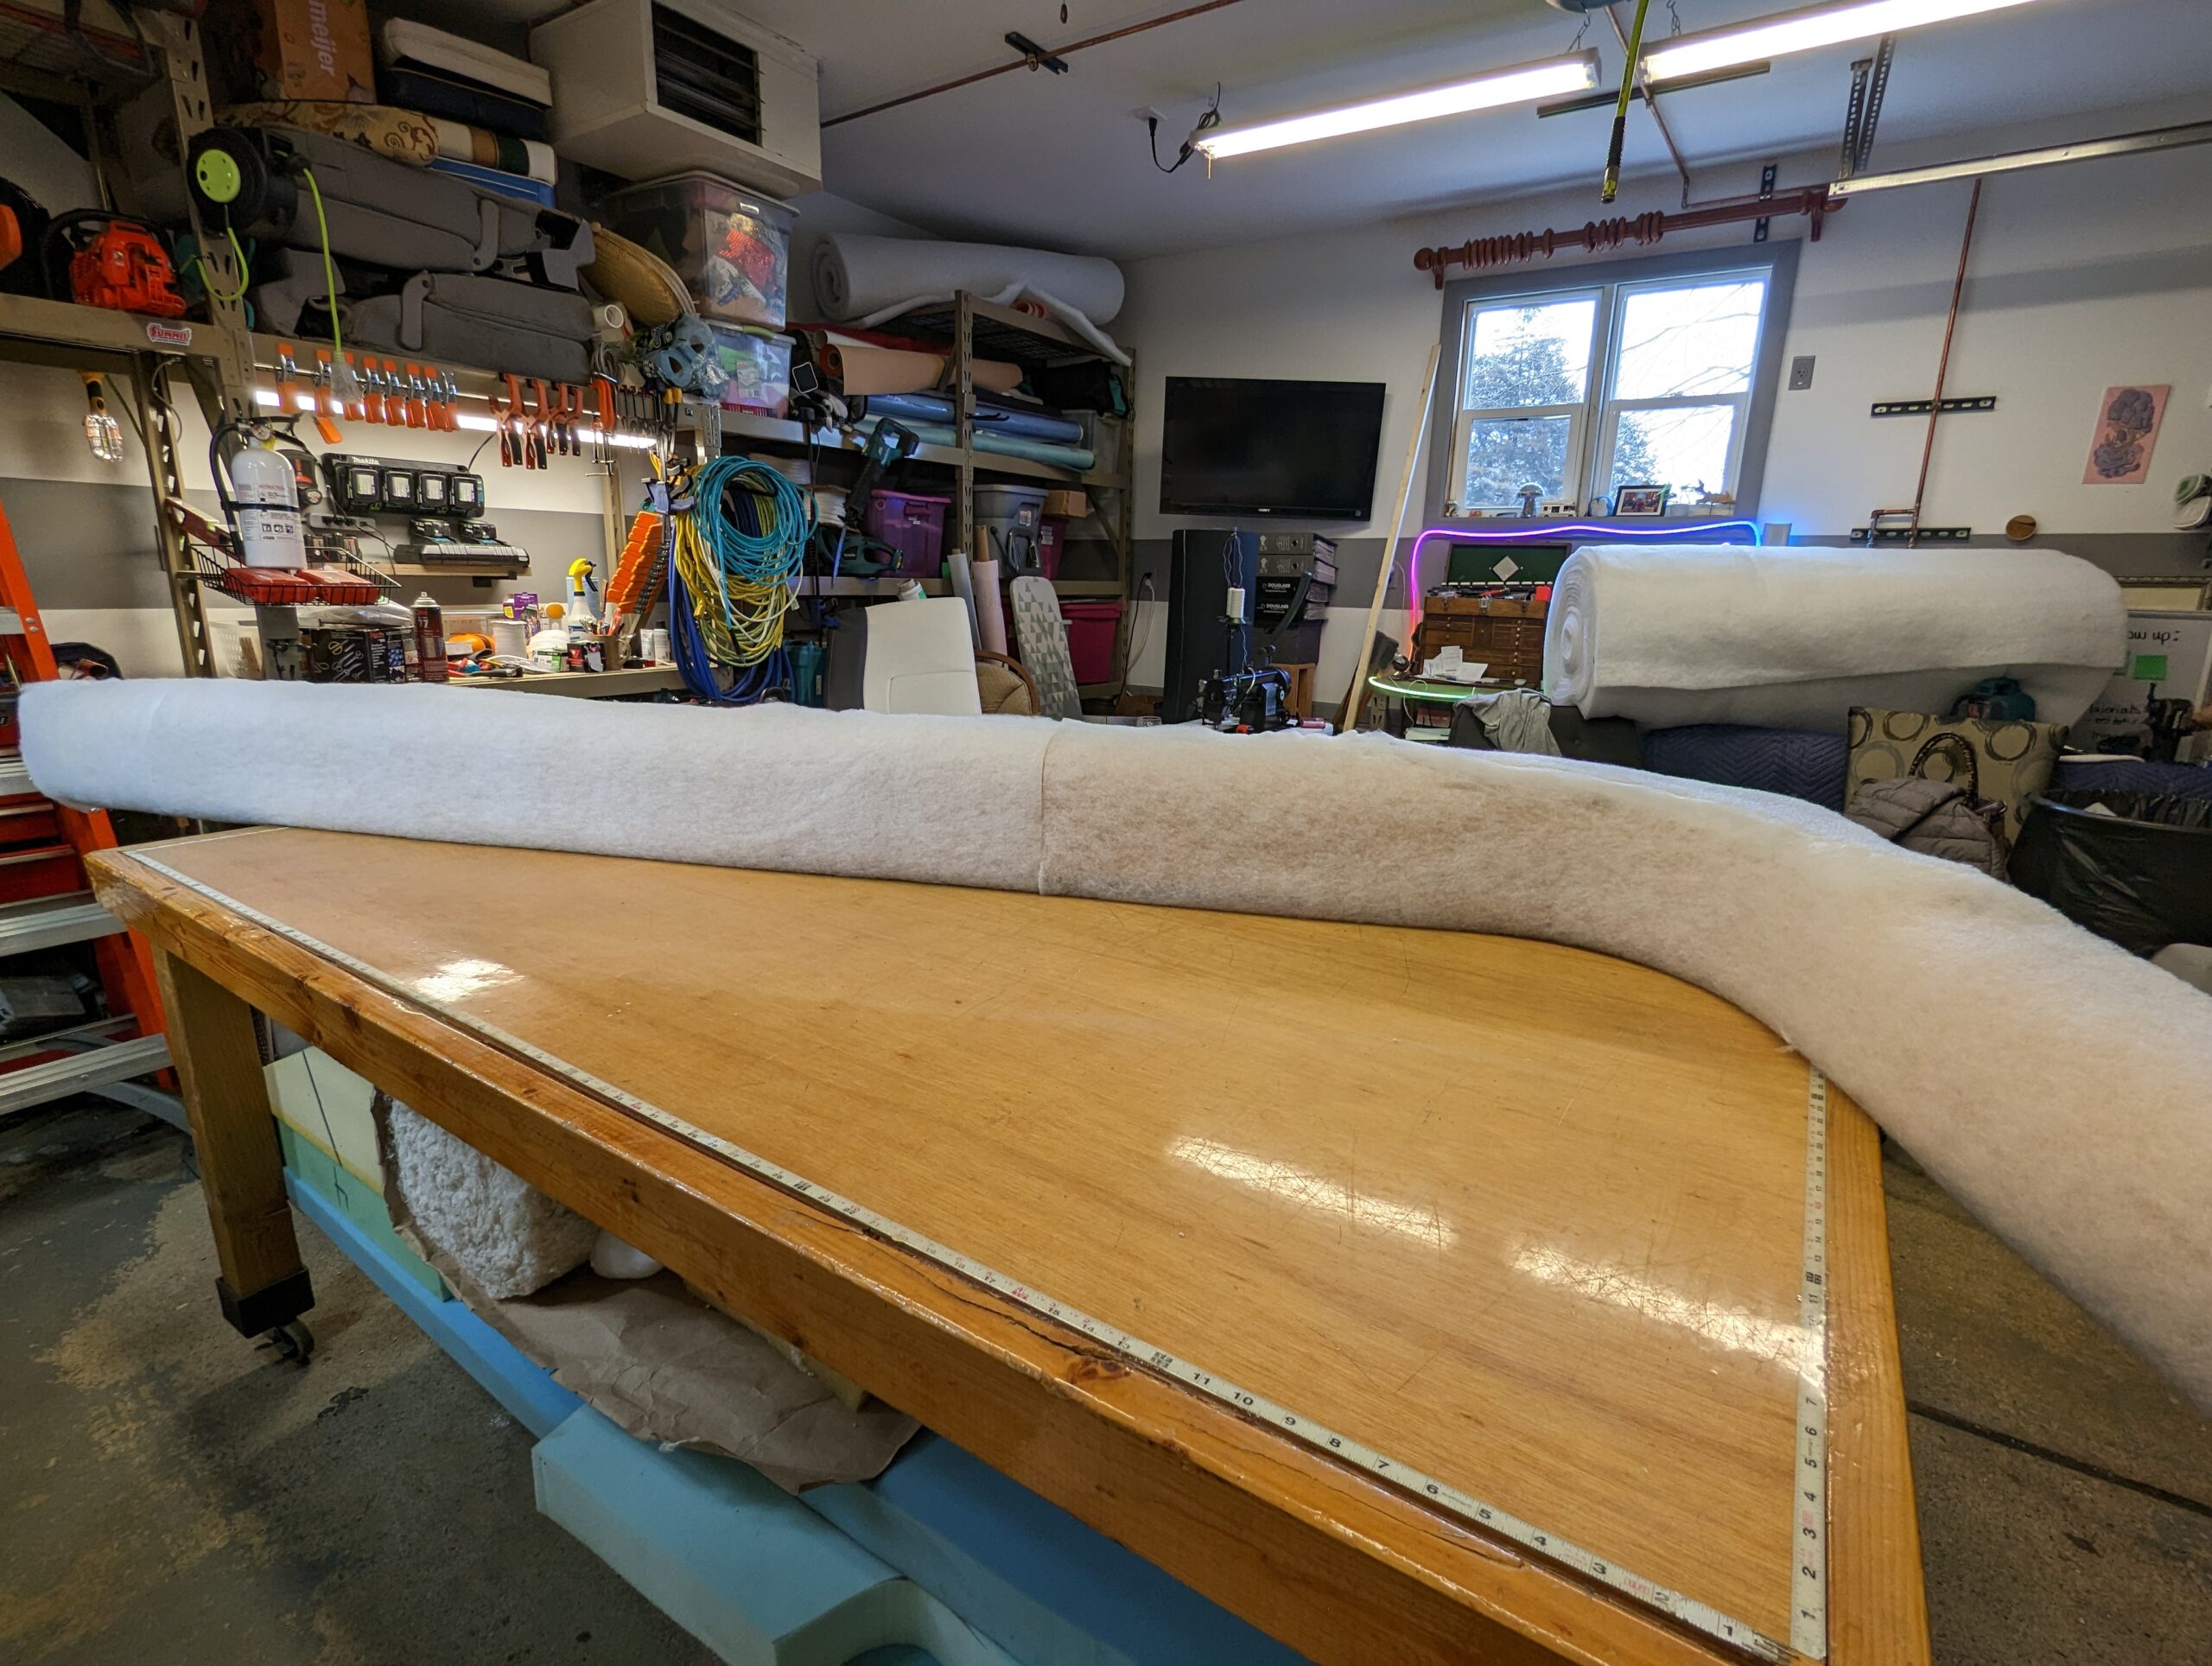
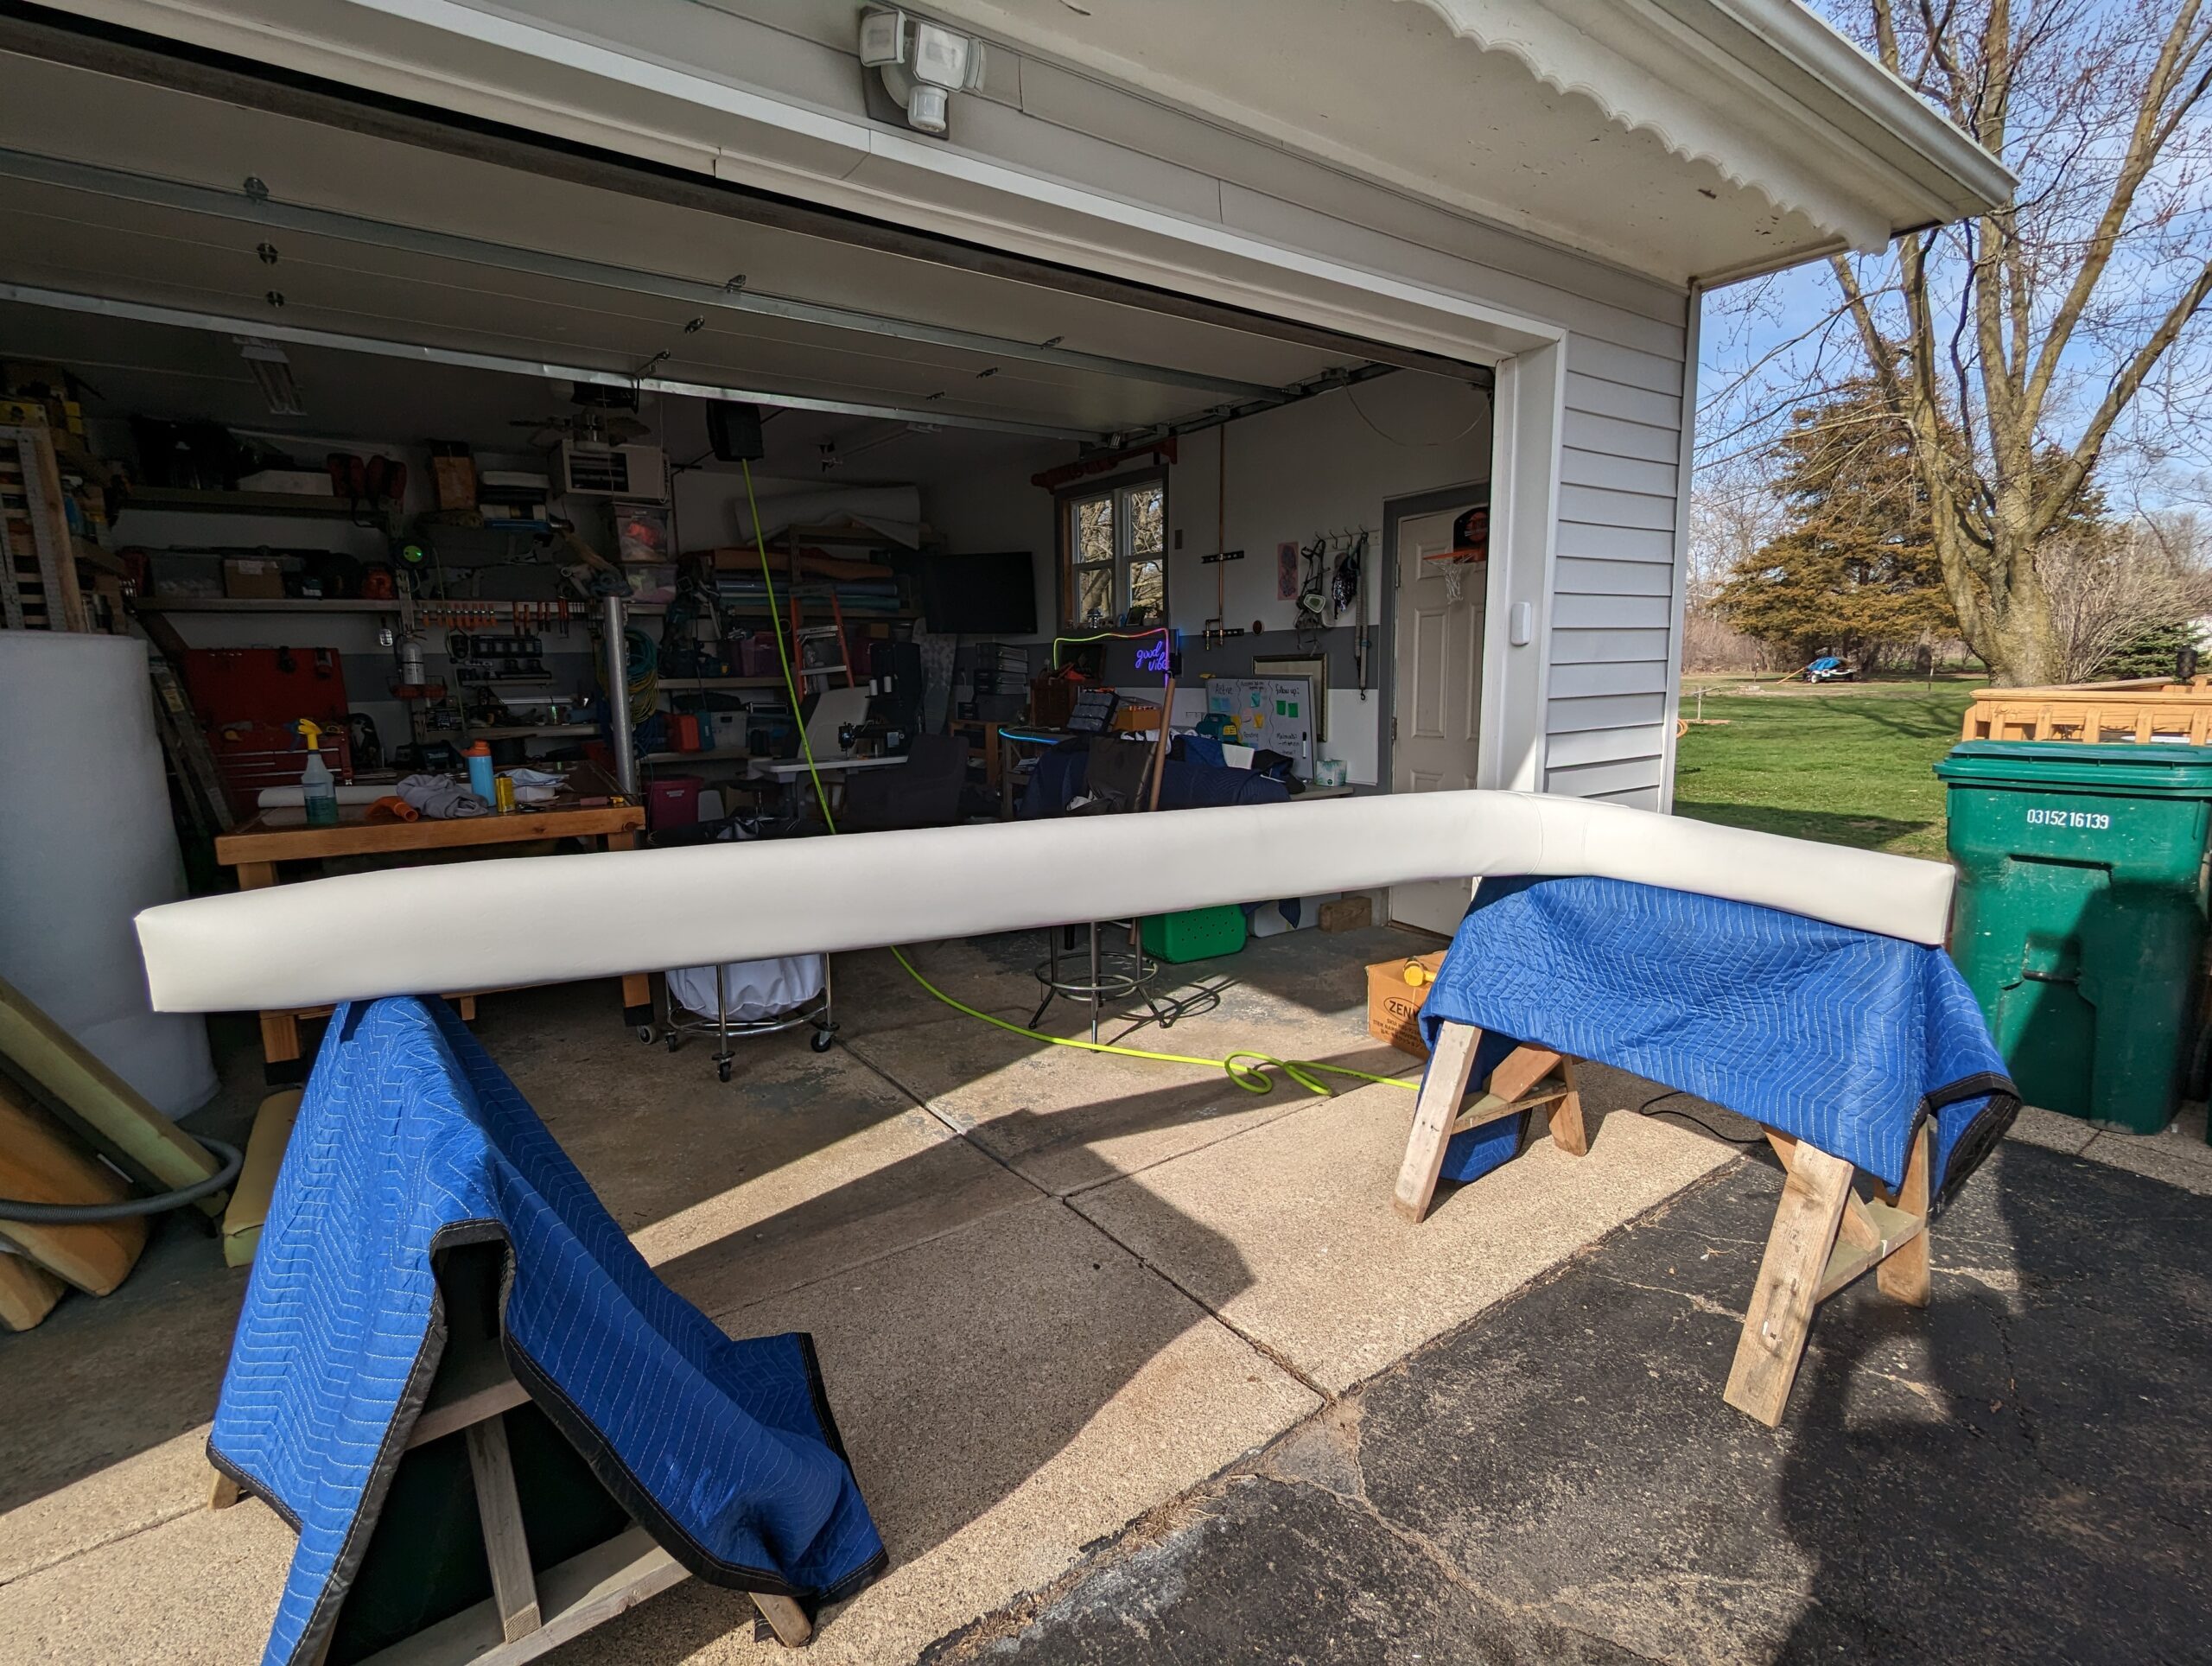
Now it’s time for new foam! First, use a foam saw (or, if you’re in a pinch, an electric bread knife) to cut the foam to fit. I used the same Dura Skrim pattern to trace onto the foam. The seat back got 1.5″ high density foam and the panel got 1/4″ skrim foam. Then, I put 1/4″ dacron on top of both pieces.

Step Six
And it’s finally time for the actual upholstery work! The complex panel is first because it did not require any sewing. Using heat, I slowly worked the marine-grade vinyl around the curves and corners. It turned out great!
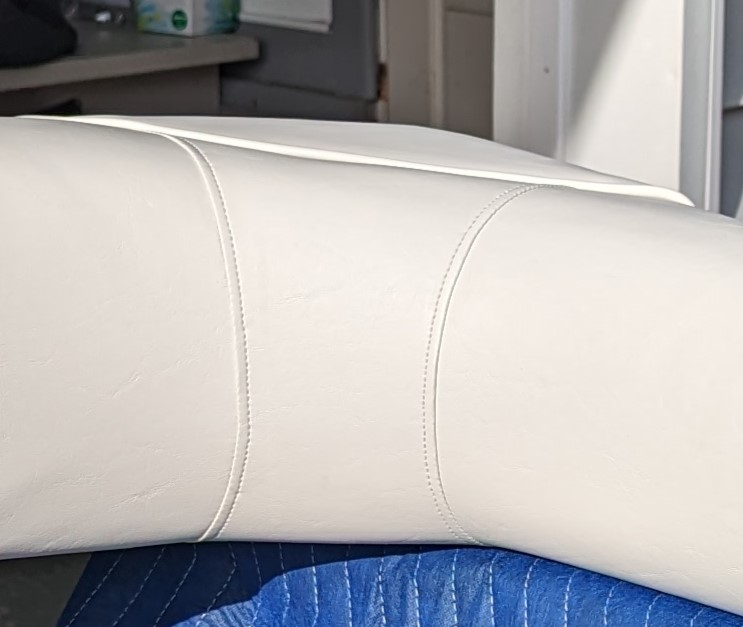
Complete!
And, now, my clients can put these new pieces in their boat and enjoy another wonderful boating season here in Michigan! Happy boating!